Minnie Cake: A Delicious and Adorable Dessert for Any Occasion

Minnie Mouse cakes are a fun and creative way to celebrate any occasion, especially for children's birthday parties. Whether you're a professional baker or just a beginner, designing and baking a Minnie Mouse cake is a great way to showcase your baking skills and creativity.
In this article, I will share some tips and tricks on how to design, bake, and decorate a Minnie Mouse cake that will impress your guests and leave a lasting impression.

Designing Your Minnie Mouse Cake is the first step in creating a successful cake. You can choose to make a single-layer or multi-layer cake, depending on your preference. A simple way to make a Minnie Mouse cake is by using a round cake pan and cutting out two circles for the ears. You can also use a rectangular cake pan and cut out the ears using a pie tin. Once you have your cake shape, you can start thinking about the decorations.
The Baking Process is the next step in creating your Minnie Mouse cake. You can use any cake recipe, but it's important to make sure that the cake is moist and fluffy. You can also add food coloring to the batter to make the cake red or pink, which are Minnie Mouse's signature colors. After baking, let the cake cool completely before frosting and decorating.
Key Takeaways
- Designing a Minnie Mouse cake can be done using a round or rectangular cake pan.
- The baking process is important to ensure a moist and fluffy cake.
- Decorative techniques and tips can be used to enhance the overall look and feel of the cake.
Designing Your Minnie Mouse Cake
When it comes to designing a Minnie Mouse cake, there are a few key elements to consider to ensure that your cake is both visually appealing and true to the iconic character. In this section, I will guide you through the process of designing your Minnie Mouse cake, including selecting the right color palette and theme, choosing the appropriate cake pan and layers, and incorporating iconic Minnie Mouse elements.
Choosing a Color Palette and Theme
When designing your Minnie Mouse cake, it is important to choose a color palette and theme that complements the character and her signature style. A classic Minnie Mouse color palette includes shades of pink, black, and white, as well as polka dots and stripes. However, you can also incorporate other colors and themes, such as a garden or beach theme, to add a unique twist to your cake.
Selecting the Right Cake Pan and Layers
The cake pan and layers you choose will play a significant role in the overall design of your Minnie Mouse cake. A sheet cake is a popular choice for a Minnie Mouse birthday cake, as it provides a large canvas for your design. However, you can also use a round or square cake pan to create a layered cake. When selecting your cake pan and layers, consider the size of your cake, the number of servings you need, and the complexity of your design.
Incorporating Iconic Minnie Mouse Elements
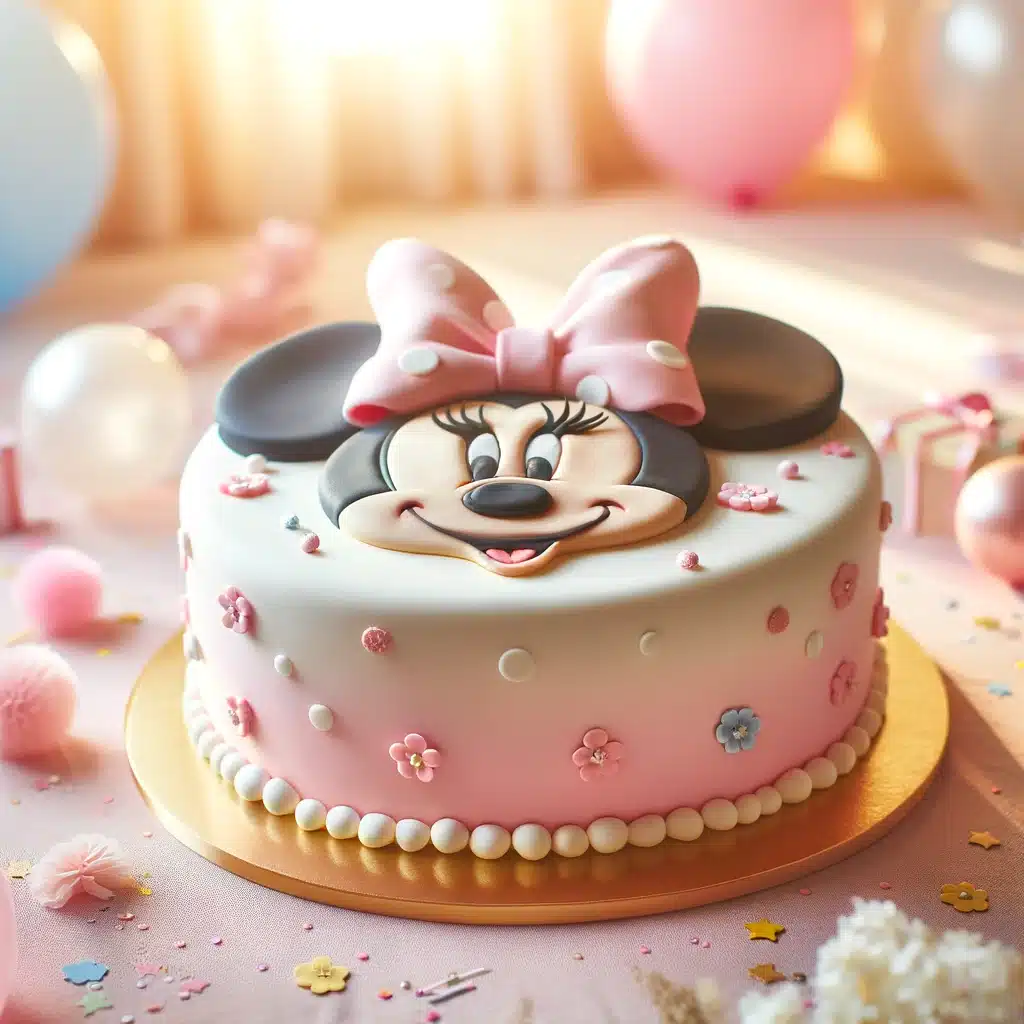
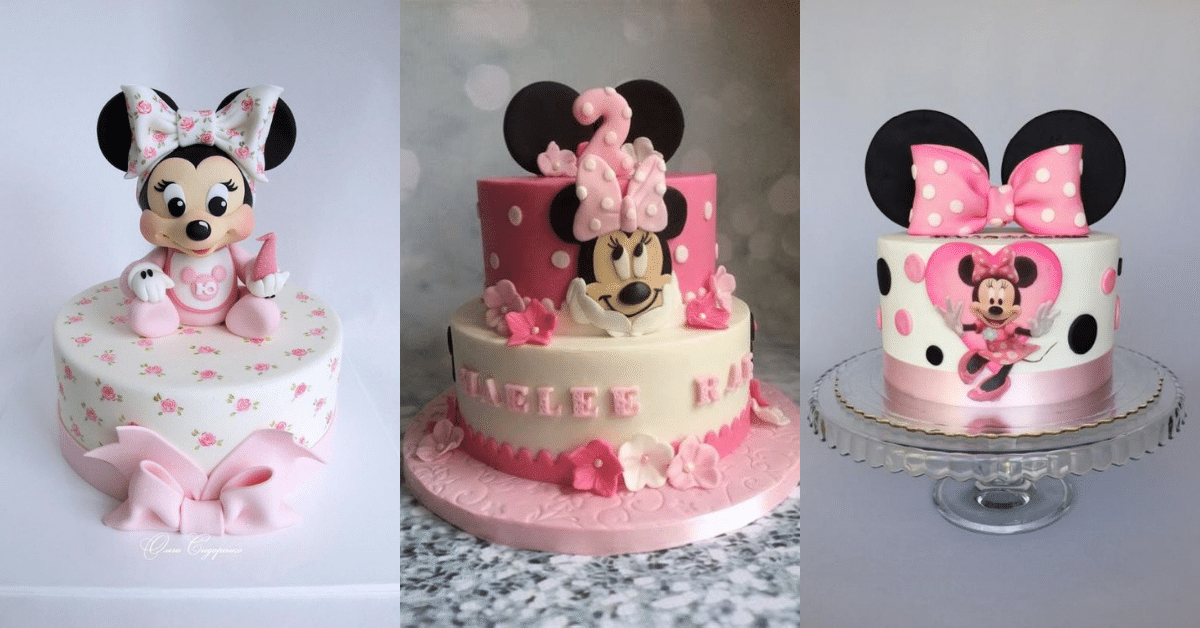
To create an authentic Minnie Mouse cake, it is important to incorporate iconic elements of the character, such as her ears and bow. You can create Minnie Mouse ears using fondant or by cutting circles out of your cake and positioning them on top. A fondant bow is also a popular choice for a Minnie Mouse cake, as it adds a touch of elegance to the design. Additionally, you can incorporate polka dots or stripes into your design, as they are a staple of Minnie Mouse's signature style.
In conclusion, designing a Minnie Mouse cake requires careful consideration of the color palette and theme, cake pan and layers, and iconic Minnie Mouse elements. By following these guidelines, you can create a cake that is both visually appealing and true to the beloved Disney character.
The Baking Process
Preparing the Cake Recipe
To make a Minnie Mouse cake, I start by preparing the cake recipe. I use a recipe that includes sugar, butter, eggs, lemon juice, vanilla, cake flour, baking soda, and buttermilk. I mix the ingredients together until they are smooth and then pour the batter into the cake pans. I make sure to grease and flour the pans to prevent the cake from sticking.
Once the batter is in the pans, I bake the cakes at the temperature specified in the recipe until they are golden brown. I test the cakes by inserting a toothpick in the center. If the toothpick comes out clean, the cakes are done.
Applying Buttercream and Fondant
After the cakes have cooled, I apply a layer of buttercream frosting. I use a recipe that includes powdered sugar, butter, and vanilla. I mix the ingredients together until they are smooth and then spread the frosting evenly over the cakes. I make sure to apply enough frosting to create a smooth and even surface.
Once the frosting is in place, I roll out the fondant. I use fondant that is the same color as Minnie Mouse's dress, which is usually pink or red. I roll the fondant out until it is thin and then drape it over the cake. I smooth the fondant out with my hands, making sure to remove any air bubbles.
To create Minnie Mouse's ears and bow, I use fondant that is a darker shade of pink or red. I roll the fondant out and then cut out the shapes using cookie cutters or a knife. I attach the ears and bow to the cake using a small amount of water or edible glue.
Overall, the key to making a Minnie Mouse cake is to pay attention to the details. From the texture of the cake to the color of the fondant, every element must be just right to create a cake that is both visually stunning and delicious.
Decorative Techniques and Tips
Creating Texture with Piping Tips and Sprinkles
When it comes to decorating a Minnie cake, piping tips and sprinkles can be your best friends. You can use different piping tips to create various textures and designs on your cake. For instance, you can use star tips to create a textured background, or round tips to create polka dots. You can also use leaf tips to create leaves and flowers.
Another way to create texture is by using sprinkles. You can use pearl sprinkles, sugar crystals, or edible pearls to add texture to your cake. You can also mix different types of sprinkles to create a unique look. For example, you can mix pearl sprinkles with sugar crystals to create a sparkly effect.
Adding Whimsy with Edible Decorations
Edible decorations can add a touch of whimsy to your Minnie cake. You can use fondant flowers, edible glitter, or edible pearls to create a fun and playful look. Fondant flowers are easy to make and can be used to decorate the sides of your cake. Edible glitter can be used to add a touch of sparkle to your cake, while edible pearls can be used to create a classic look.
When it comes to adding edible decorations to your cake, it's important to keep in mind the overall theme and color scheme. For example, if you're using pink buttercream on your cake, you can use pink edible decorations to tie everything together. On the other hand, if you're using chocolate ganache, you can use gold or silver edible decorations to create a sophisticated look.
In conclusion, there are many tips and tricks you can use to decorate your Minnie cake. By using piping tips and sprinkles, you can create texture and depth, while edible decorations can add a touch of whimsy and fun. With a little bit of creativity and imagination, you can create a beautiful and memorable Minnie cake that will be the highlight of your party.
Celebrating with Minnie Mouse
If you are a Minnie Mouse fan, then celebrating your special occasion with a Minnie Mouse-themed party is a great way to go. Whether it's for kids or adults, a Minnie Mouse party is sure to be a hit. In this section, I will share some ideas on how to plan a Minnie Mouse birthday party and choose the perfect cake for the occasion.
Planning a Minnie Mouse Birthday Party
When planning a Minnie Mouse birthday party, the first step is to decide on the theme. Classic Minnie Mouse is always a great option, but there are also many other Minnie Mouse party ideas to choose from. You can go with a pink and white color scheme for a girly touch, or a red and black theme for a classic look.
Once you have decided on the theme, it's time to start thinking about Minnie Mouse party supplies. You can find everything from Minnie Mouse plates and cups to balloons and decorations. You can also make your own decorations by using Minnie Mouse stickers and cutouts.
When it comes to food, you can't go wrong with Minnie Mouse-themed snacks. You can make Minnie Mouse cupcakes, cookies, and even sandwiches. You can also serve pink lemonade or strawberry milk as a refreshing drink.
Choosing the Perfect Cake for the Occasion
A Minnie Mouse birthday party wouldn't be complete without a Minnie Mouse cake. There are many different Minnie Mouse themed cakes to choose from, including pink Minnie Mouse cakes and red Minnie Mouse cakes.
If you are celebrating a first birthday, a smash cake is a great option. A smash cake is a small cake that the birthday boy or girl can literally smash and eat. For a classic Minnie Mouse birthday cake, you can choose a round cake with Minnie Mouse's face on it. You can also add some Minnie Mouse ears and a bow for a cute touch.
In conclusion, celebrating with Minnie Mouse is a fun and exciting way to make your special occasion even more memorable. By following these tips, you can plan a Minnie Mouse birthday party that everyone will love.