Thanksgiving Cake Pops: a Turkey Step by Step and 11 More Designs for the Dessert Table


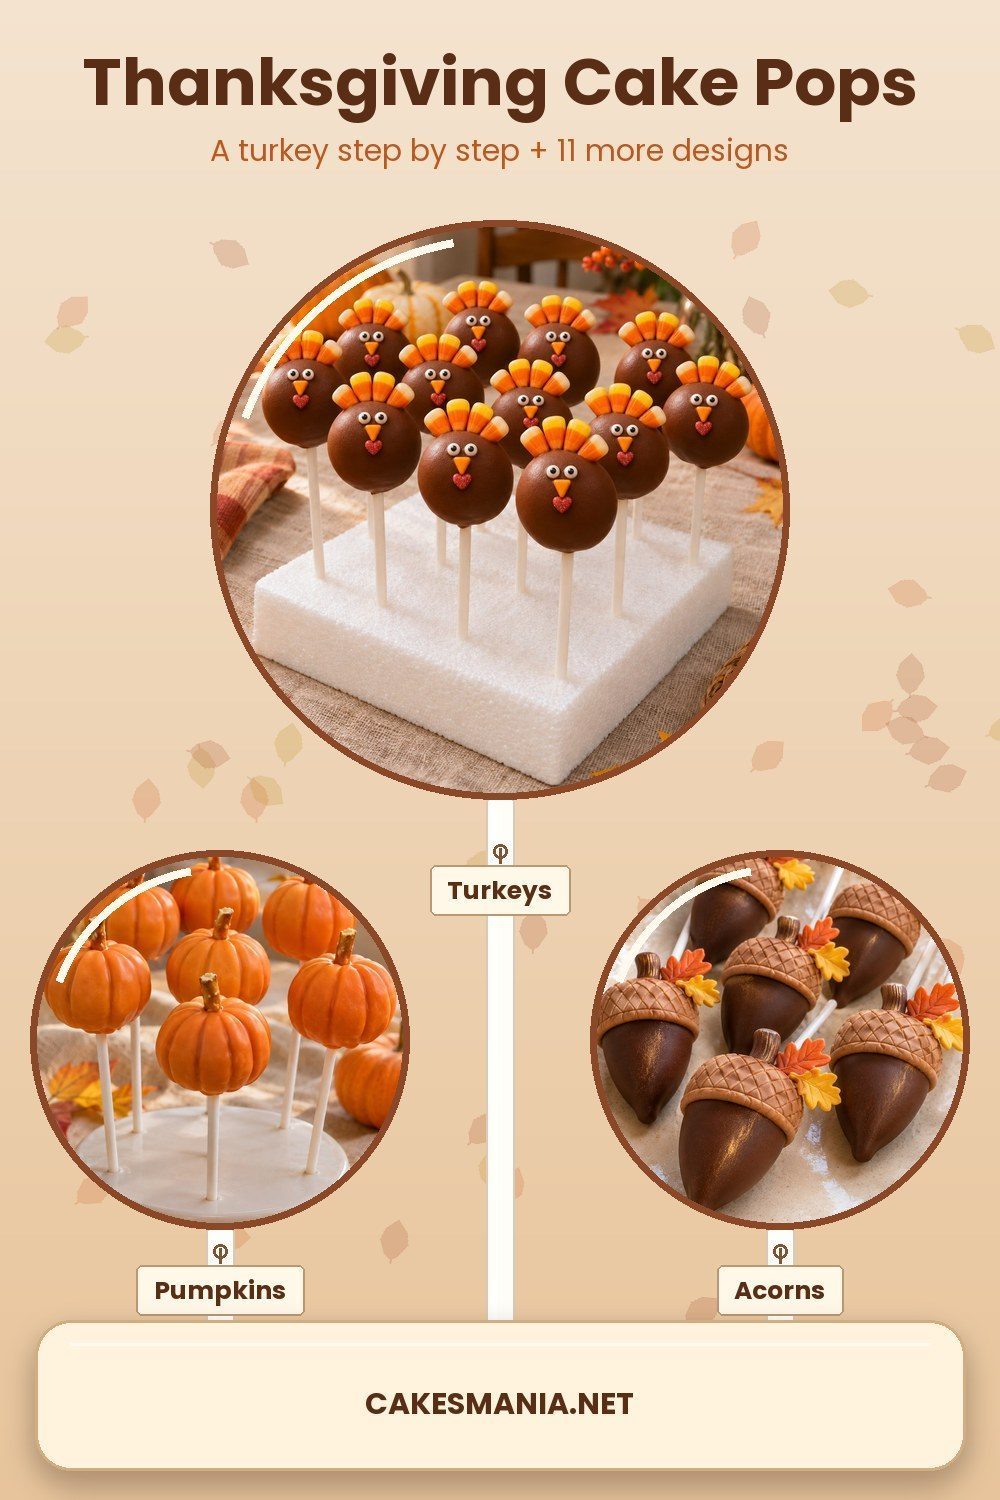
Most of these twelve Thanksgiving cake pop designs start with the classic cake-and-frosting base. Two use baked cake balls instead: One Preppy Cookie uses a Nordic Cake Pop Pan without frosting mixed in, and Primal Palate uses a Babycakes maker. Start with the turkey tutorial below, then choose the shapes and finishes that fit your dessert table and follow each source’s recipe.
The base: cake, frosting and coating
Start with the cake-and-frosting method in How to Make Cake Pops in Three Steps with Candy Melts. For the turkey batch, Lauren Hugh lists a 9 × 13-inch (23 × 33-cm) cake and ½–1 cup buttercream, added gradually until the crumbs hold together like soft modeling dough; her anchored pops chill for 15–30 minutes. Lauren Hugh, Hugh Eats With You supplies that ratio. For dipping, Sally McKenney, Sally’s Baking melts coating in 20-second microwave bursts and recommends letting it cool for 5 minutes before dipping cold balls to help prevent cracks. She gives no thermometer target: use melted, smooth coating with that cooling pause. Cake recipes absorb frosting differently, so the dough texture matters alongside the listed quantity. For designs using cake-and-frosting dough, follow each tutorial’s recipe and setting instructions.
| Design | Coating | Decorations | Make-ahead if stated |
|---|---|---|---|
| Turkeys | Brown candy melts or chocolate coating | Candy-corn feathers; three mini pretzels with a cookie-dough head and sprinkles; or a pop laid on a decorated Ritz cracker | One Preppy Cookie: about 1 hour before standing |
| Pumpkins and gourds | Orange or white candy melts | Grooves and pretzel stems; sculpted candy stems; or sprinkles under white coating with decorating dust | Sweet Mouth Joy: cake or buttercream 1–2 days ahead; same-day serving for crisp pretzels |
| Acorns, apples and leaves | Red or dark cocoa coating; candy melts for leaf-topped pops | Sprinkle stems, textured caps or lace leaves | Heavenly Cake Pops: cure leaves overnight |
| Simple ones for a crowd | White candy melts | Seasonal sprinkles or chopped pecans | Everyday Eileen: refrigerate undecorated pops overnight |
Turkeys
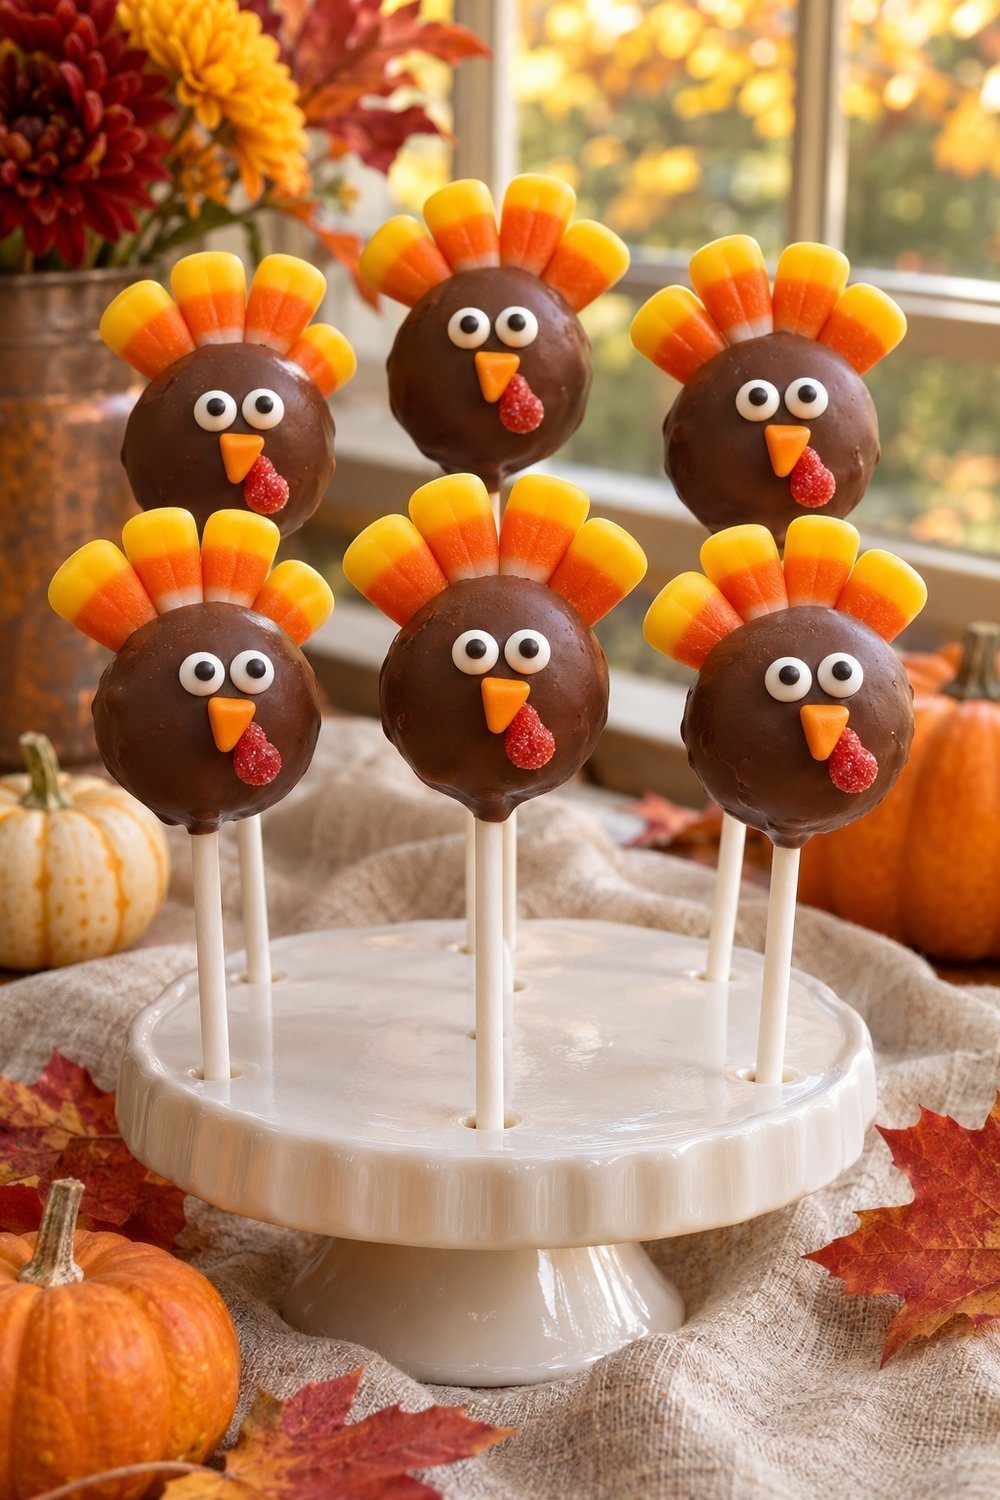
Turkey cake pops with candy corn feathers, step by step
This sequence follows Lauren Hugh, Hugh Eats With You.
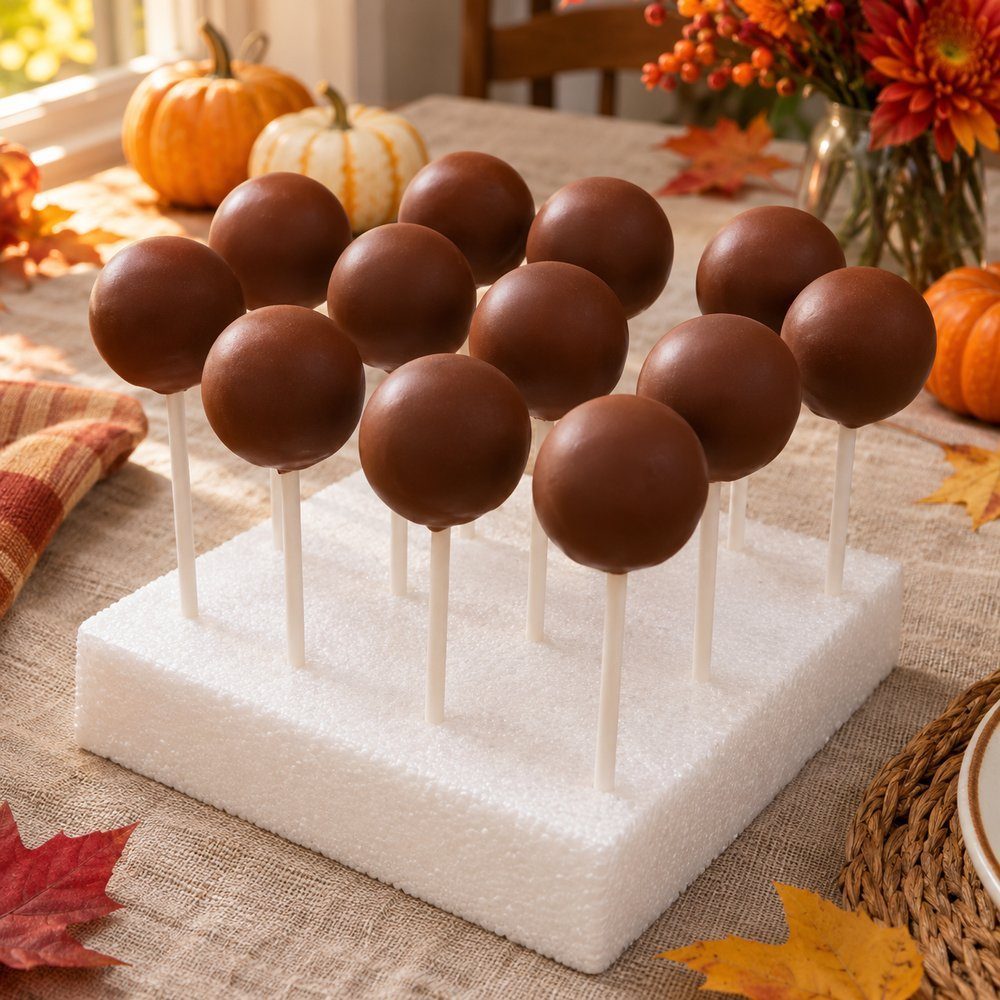
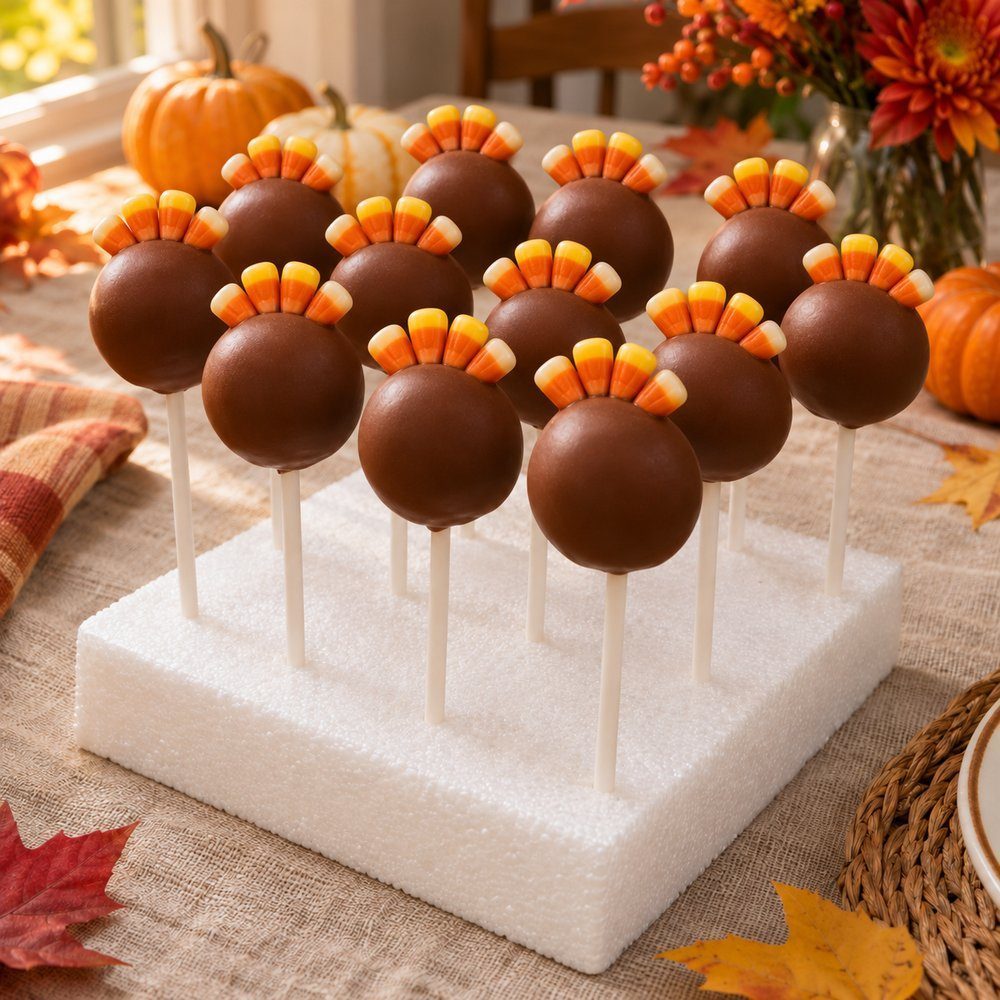
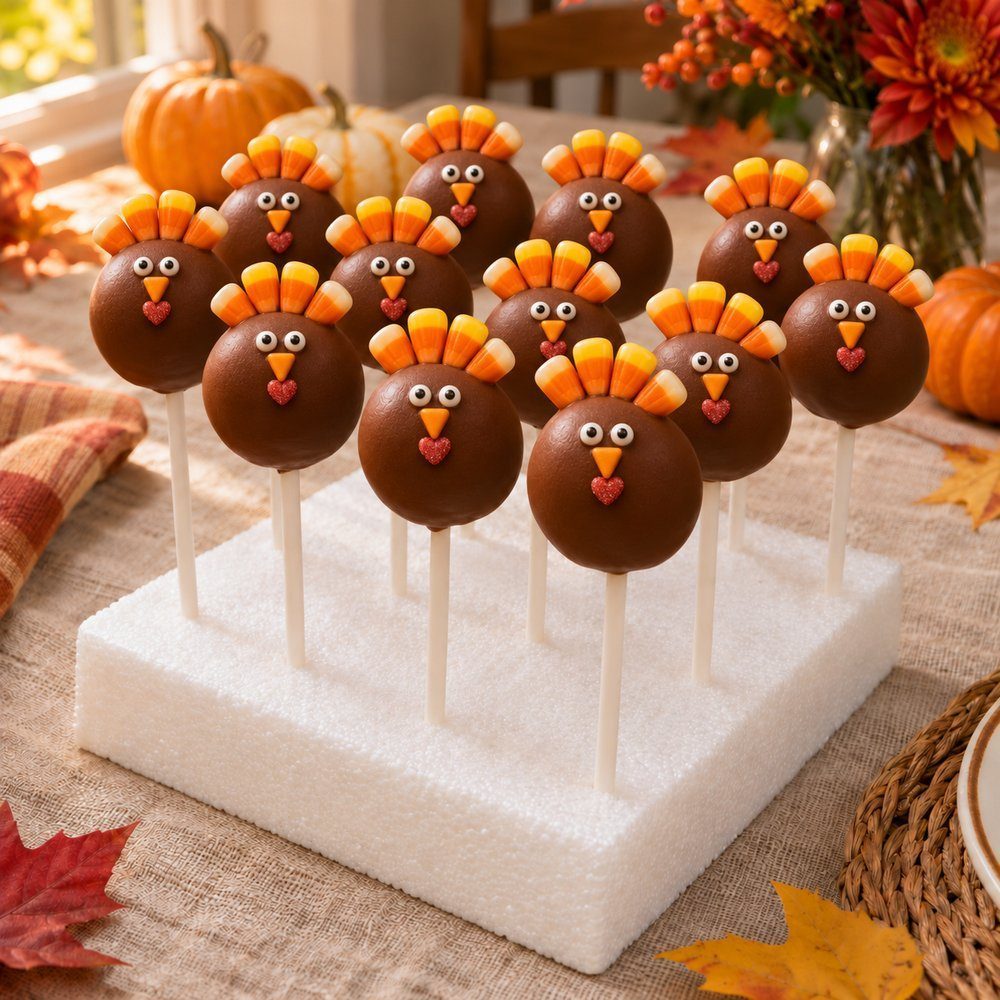
- Bake, cool and finely crumble a 9 × 13-inch (23 × 33-cm) cake.
- Add buttercream gradually from the listed ½–1 cup until the mixture holds together, then roll bite-size balls.
- Melt the brown candy melts in 30-second microwave increments.
- Coat about 1 cm (⅜ in) of each stick’s tip, insert it into a ball and refrigerate for 15–30 minutes.
- Submerge each chilled ball gently in the melted coating.
- Immediately attach candy eyes, an orange candy-chip beak and a cinnamon-heart wattle, holding them briefly before standing the pop upright.
- Attach 4 candy-corn feathers at the back with melted coating, supporting them until firm.
- Rest feather-side down if needed until the coating hardens, then display in a stand.
For a moving demonstration, Lauren Hugh of Hugh Eats With You shares her Thanksgiving turkey cake pop tutorial. Watch her decorating process alongside the written steps above, then gather the candy corn, candy eyes and other decorations for your own turkey batch.

Pretzel-feather turkeys. Three mini pretzels make an open, looping tail behind a chocolate-coated body. Drizzle the pretzels with orange candy coating and let them set separately. A cookie-dough candy becomes the raised head, with confetti-sprinkle eyes and beak, black gel pupils and a daisy-sprinkle wattle. The source chills the cake balls for 1 hour in the refrigerator before coating; melted almond bark joins the finished pieces. Audrey Alfaro, Spoon & Swallow
Cracker-backed turkeys. Amy bakes the cake balls in a Nordic Cake Pop Pan without mixing in frosting. A Ritz cracker supports the candy-corn tail and the cake pop. Coat one side of the cracker in chocolate candy melts, arrange candy-corn feathers and let the backing dry. Dip the cake ball, lay it on the prepared cracker and add the face. The source’s finished birds stood upright after about 1 hour, with a tray available for serving them flat. Amy, One Preppy Cookie
Pumpkins and gourds
Grooved pumpkin cake pops. Deep channels underneath orange coating give these pumpkins their shape, with a broken pretzel forming the stem. Kachina chills the slightly flattened balls for 45 minutes, presses 5–7 furrows around each one and chills them for another 15–30 minutes. Leave about ½ inch (1.3 cm) between grooves. After dipping, add the pretzel and stand the pumpkins upright while the coating sets for roughly 5–10 minutes. Kachina allows cake or buttercream to be made 1–2 days ahead; finished pops keep up to 5 days, roughly a week refrigerated, or 3 months frozen. Serve them the same day for crisp pretzels. Kachina, Sweet Mouth Joy
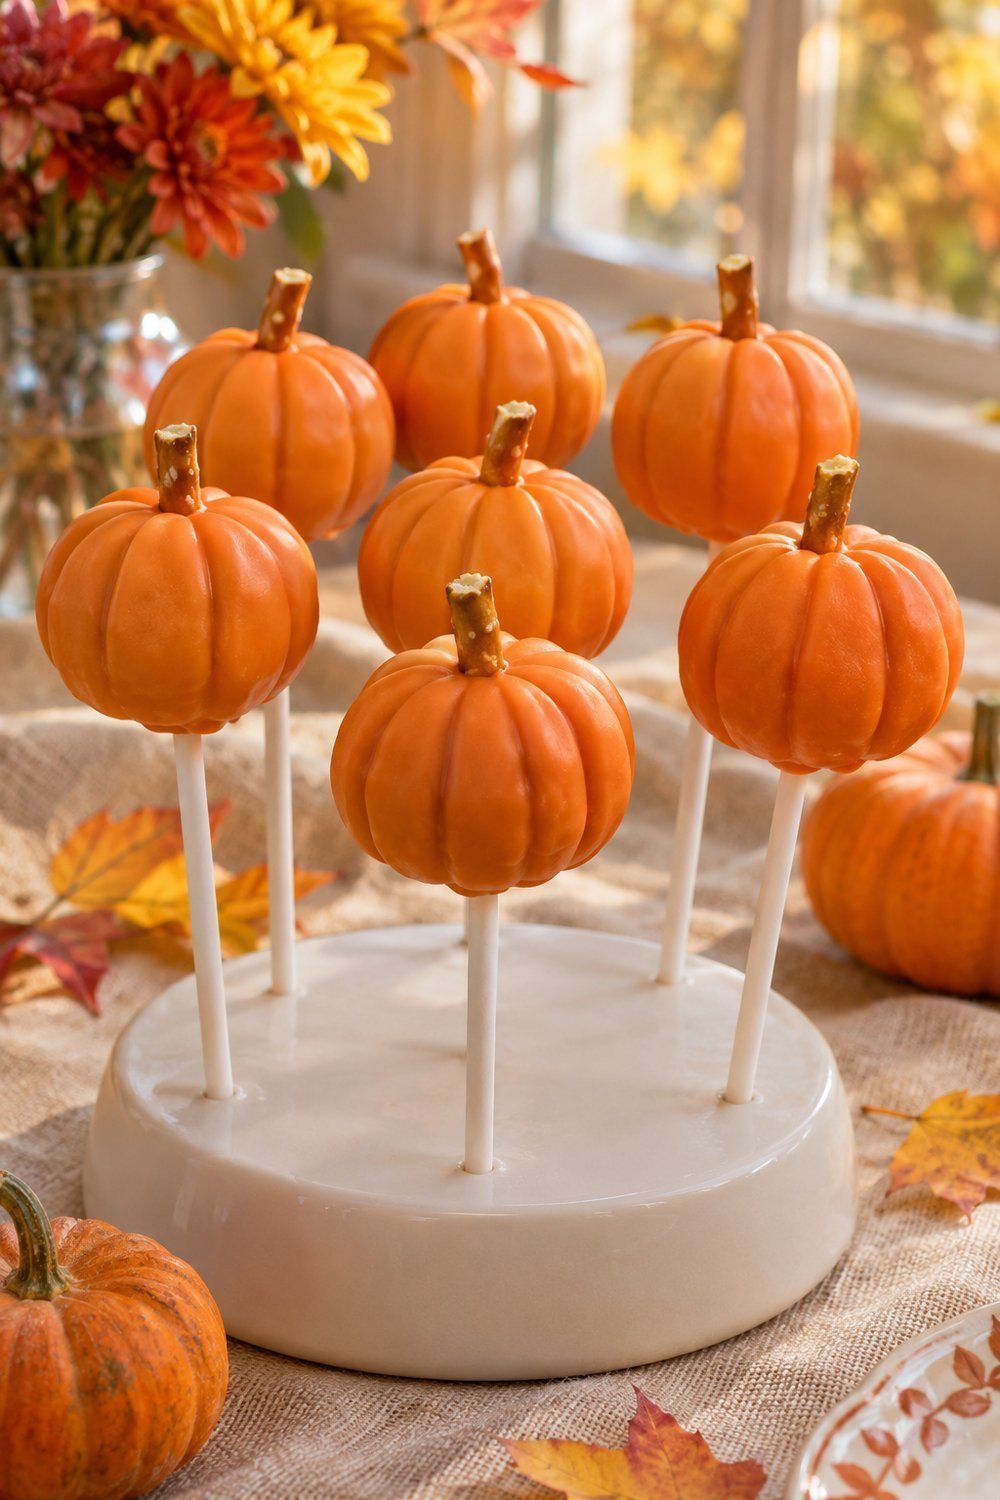
Upside-down pumpkins with candy stems. The stick emerges through a sculpted green or brown stem, leaving the pumpkin resting directly on parchment. Dip about 1 inch (2.5 cm) of the stick in thick stem-colored coating, insert it and shape the pooled candy immediately with a spoon or spatula. Let that stem firm for 3–5 minutes, then dip the body in orange just to its edge. Finish with the stick pointing upward. Beki Cook, Beki Cook’s Cake Blog
Bumpy harvest gourds. Choose the textured version from Karyn Granrud’s collection of differently shaped gourds. Start with white coating, attach scattered sprinkles while it is wet, then dip again after those sprinkles have set. Their hidden shapes create bumps beneath the shell. Once dry, brush on copper or light green decorating dust for uneven harvest color. Her cake balls refrigerate for 30 minutes before dipping; the texture comes from the extra coating layer. Karyn Granrud, Pint Sized Baker
Acorns, apples and leaves
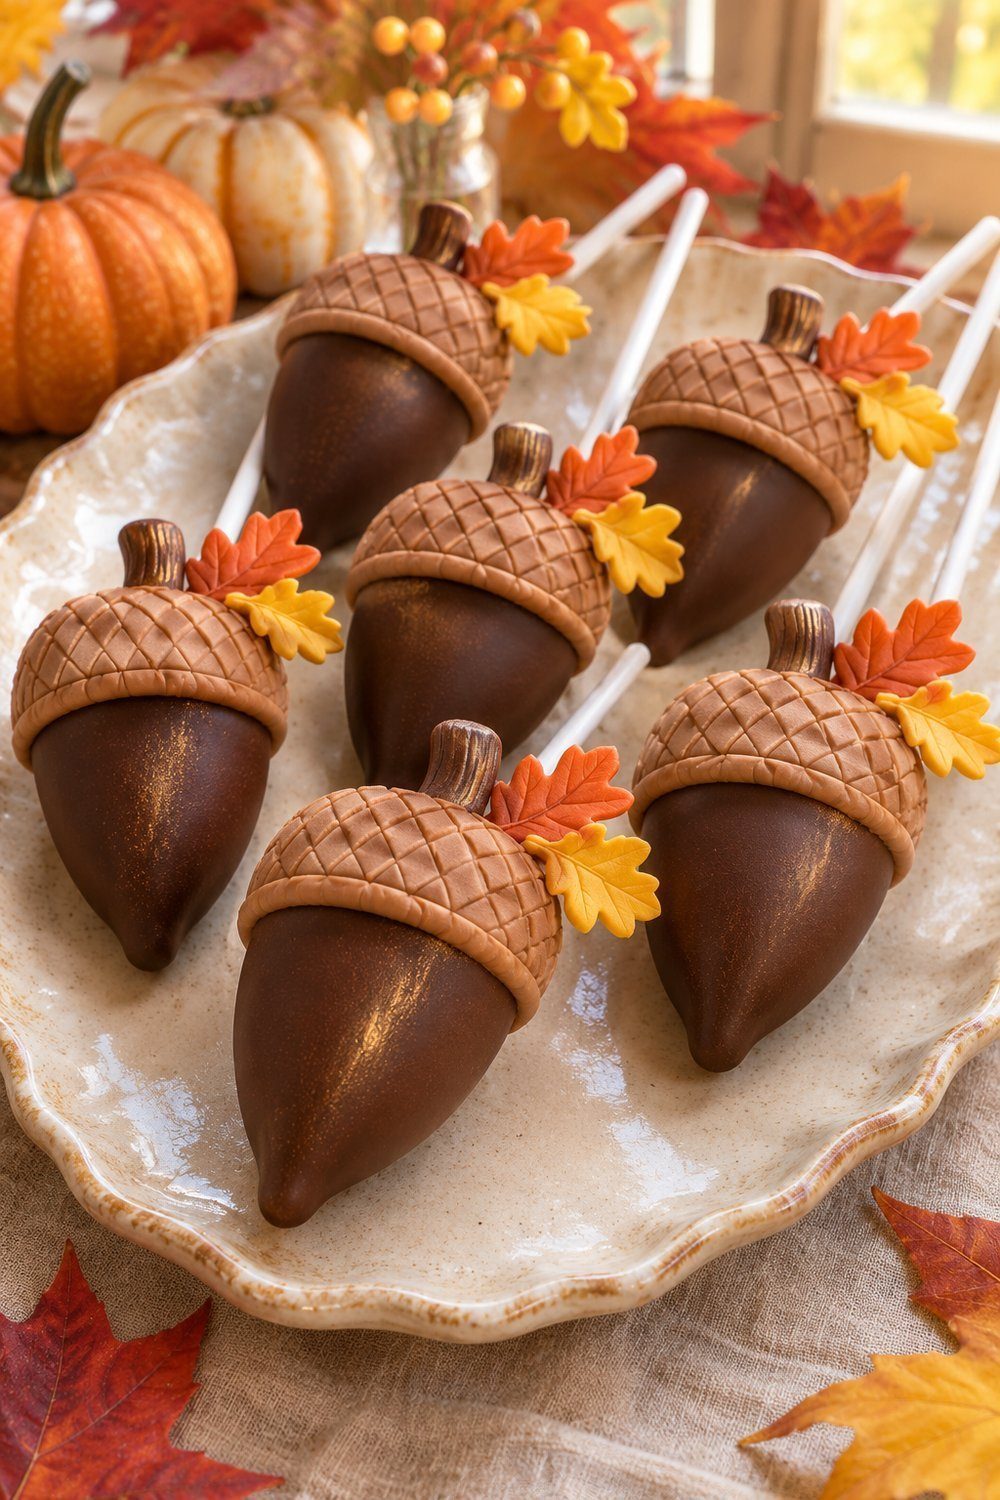
Acorns with crosshatched caps. Dark cocoa coating forms the smooth acorn body, while a separate light brown modeling-chocolate or fondant cap supplies the texture. Roll the cap material thin, mark a crosshatch and cut circles large enough to cover the cake balls. Slide each cap down over its stick and shape a lip around the edge. Dark brown and gold petal dust finish the cap; small autumn-colored fondant leaves complete the source’s woodland decoration. Author unlisted, Innovative Sugarworks
Red apples with sprinkle stems. Shape the dough with gently flattened tops and bottoms, rounded sides and small divots at either end. Beki uses two level teaspoon scoops per apple and refrigerates the shaped balls for at least 3 hours. Red candy coating gives them their bright shell, a brown jimmie becomes the stem, and an optional green candy leaf is piped with tip #352. Stand them in foam while the coating firms. Beki Cook, Beki Cook’s Cake Blog
Edible lace leaf toppers. Choose the leaf-topped round pops from Heavenly Cake Pops’ fall tutorial. Spread differently colored edible lace icing across a leaf mat, scrape it level and let the leaves cure overnight. Unmold while flexible, then curve them over a former to harden. Set each finished leaf onto a freshly dipped cake pop before its coating sets, using that wet surface to hold the delicate autumn topper in place. HCP Admin, Heavenly Cake Pops
Simple ones for a crowd
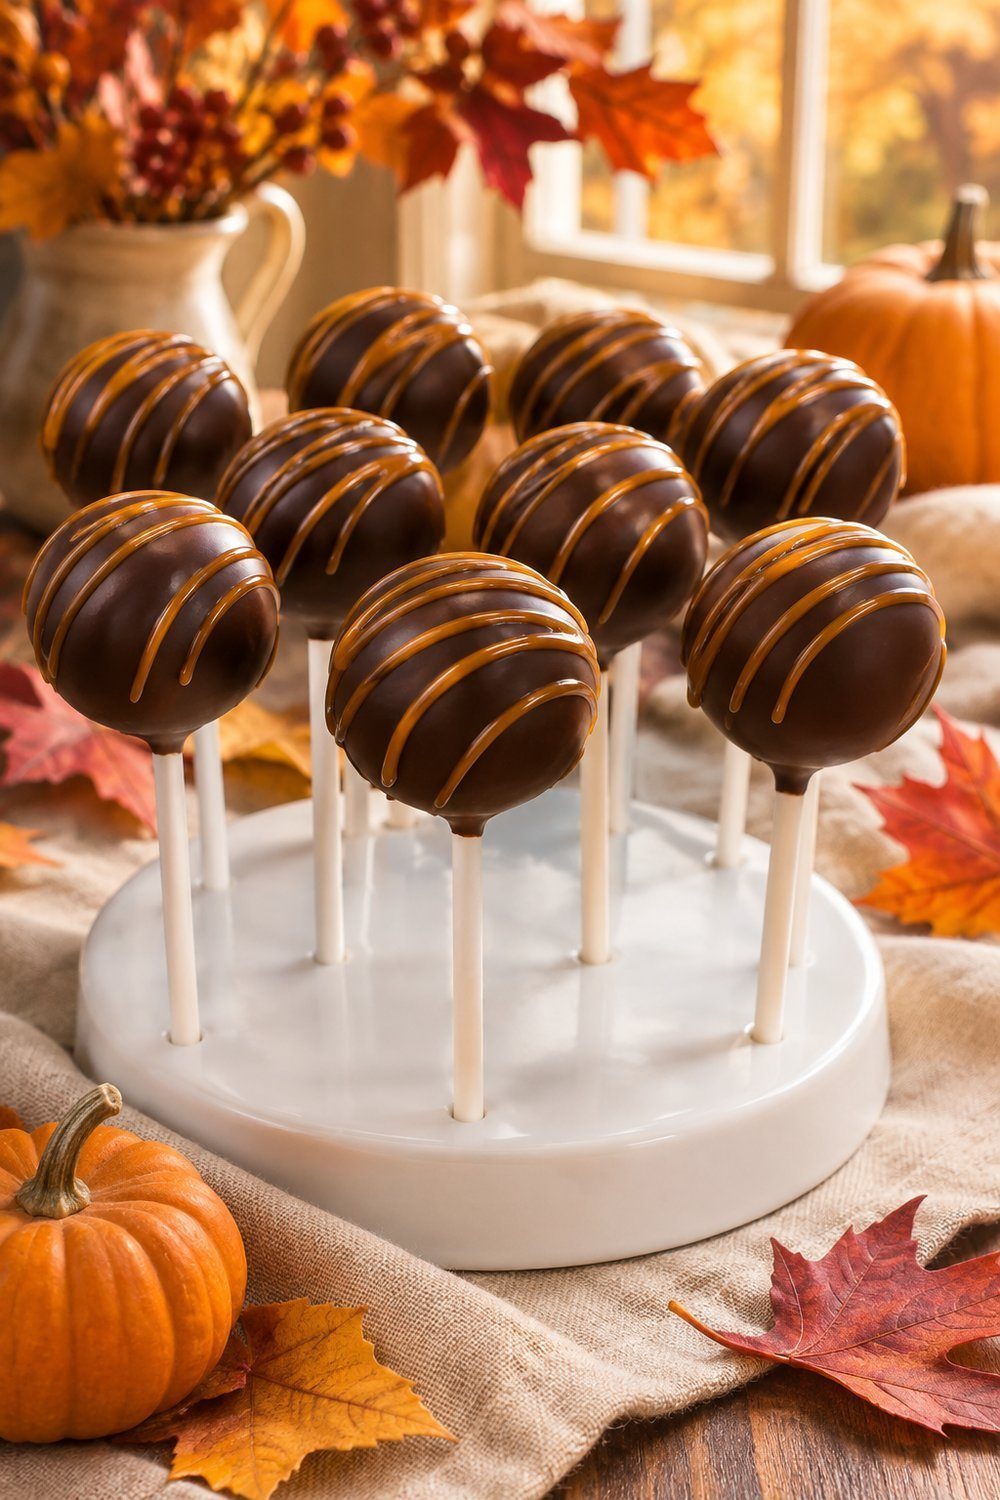
Chocolate pops with caramel drizzle. Choose the cake-pop version, baked in a Babycakes maker, from Hayley’s pumpkin-spiced donut and pop tutorial: a dark chocolate shell with caramel lines across the surface. After coating, freeze the pops for 3–5 minutes before adding the caramel sauce. Return them to the freezer until the chocolate and caramel harden. The source keeps this version frozen or refrigerated until 1 hour before serving, so its cold holding belongs with the decoration plan. Hayley, Primal Palate
White pops with autumn sprinkles. Seasonal sprinkles supply the entire decoration against a white candy shell. Eileen’s recipe uses 12 oz (340 g) white candy melts and lets you prepare the undecorated pops the previous evening, refrigerating them overnight. Dip, tap away excess coating and add the sprinkles before standing each pop in foam to set. Once cool, the finished pops can be individually bagged, making this a straightforward decorated option for party portions. Eileen, Everyday Eileen
Pecan-crusted white pops. These white-coated cake pops are dipped in finely chopped pecans and set pecan-side down. Ginnie chills the cake balls for 2 hours, inserts candy-dipped sticks and chills again for about 15 minutes. Dip in white candy coating, tap away the excess, then dip into the chopped nuts. Set each pop pecan-side down on a platter to harden, leaving its stick upright. The recipe lists 1 cup pecans for the batch. Ginnie, Hello Little Home
Making them ahead and serving
For her vanilla cake-and-buttercream recipe, Sally McKenney, Sally’s Baking permits up to 2 days in the refrigerator for undipped balls and up to 1 week refrigerated for finished pops. Her setting method uses a foam block or a box to hold the sticks upright while the coating firms. For the caramel-drizzled version, follow Hayley, Primal Palate and keep the pops frozen or refrigerated until 1 hour before serving.
Continue with cake pop basics and easy Thanksgiving treats, a guide to several desserts, to finish planning your dessert table.