Chocolate Pudding Pots: Small, Silky, and Deeply Rich

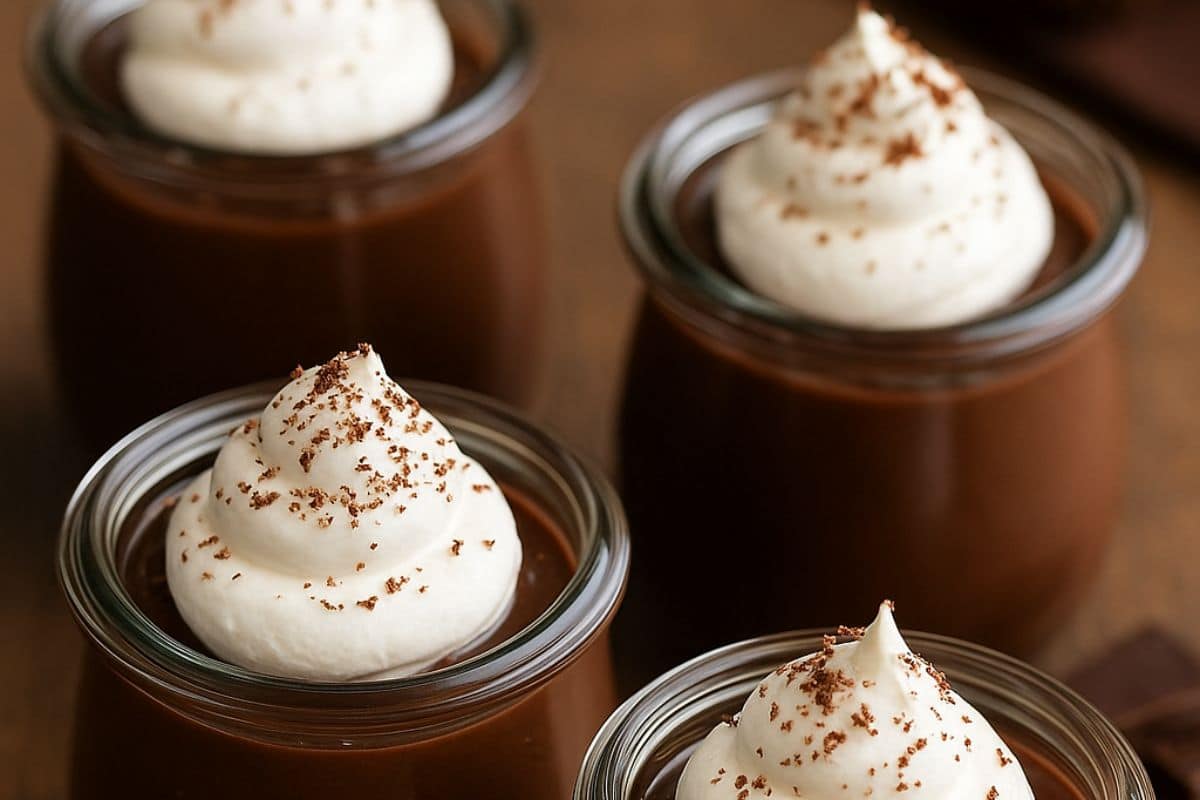
When it comes to desserts that deliver rich flavor, silky texture, and a touch of elegance, few things compete with Chocolate Pudding Pots.
These small, velvety treats strike the perfect balance between comfort food and sophistication — ideal for dinner parties, festive gatherings, or a quiet evening indulgence.
Whether served warm or chilled, topped with whipped cream or dark chocolate shavings, these individual pudding pots turn an ordinary day into a celebration of taste.
Perfect Chocolate Pudding
Before diving into the recipe, let’s understand why it works.
- Egg yolks act as natural thickeners, giving the pudding its luscious texture.
- Cornstarch stabilizes the mixture, preventing it from curdling.
- Cream and milk combine for the ideal mouthfeel — rich but not heavy.
- And, of course, high-quality chocolate brings everything together with depth and flavor.
Choosing the Right Chocolate
If you want an exceptional result, don’t compromise on chocolate quality. Opt for bittersweet or dark chocolate (60–70% cocoa solids). Milk chocolate may work, but it often leads to an overly sweet result.
Ingredients You’ll Need
Here’s a concise list of what you’ll need to make the most decadent Chocolate Pudding Pots at home:
For 6 servings:
- 200 g of high-quality dark chocolate, chopped
- 2 cups of whole milk
- 1 cup of heavy cream
- 4 large egg yolks
- ½ cup of granulated sugar
- 2 tablespoons of cornstarch
- 1 teaspoon of pure vanilla extract
- A pinch of salt
- Optional: a knob of unsalted butter for extra shine
Step-by-Step: How to Make Chocolate Pudding Pots
Step 1: Heat the Milk and Cream
In a medium saucepan, combine milk and cream. Gently heat over medium flame until it begins to steam — do not let it boil.
Step 2: Whisk the Egg Mixture
In a separate bowl, whisk together egg yolks, sugar, cornstarch, and salt until the mixture becomes pale and thick.
This step is crucial: incorporating air helps create that delicate, melt-in-your-mouth texture.
Step 3: Temper the Eggs
Slowly pour half of the hot milk mixture into the eggs, whisking constantly. This prevents the yolks from cooking too quickly. Then, return everything to the saucepan.
Step 4: Cook Until Thickened
Cook over low heat, stirring continuously with a wooden spoon. The mixture will thicken after about 5–7 minutes. When it coats the back of the spoon, it’s ready.
Step 5: Add the Chocolate and Butter
Remove from heat. Stir in the chopped chocolate, vanilla, and butter. Watch as it transforms into a glossy, velvety dream.
Step 6: Portion and Chill
Pour into small ramekins or glass pots. Let them cool slightly before covering with cling film (to prevent a skin from forming). Chill for at least 2 hours — or enjoy warm for a cozy experience.
Serving Ideas for a Touch of Sophistication
Presentation elevates everything. Here are some creative ways to serve your chocolate pudding pots:
1. Classic Elegance
Top with lightly whipped cream, dark chocolate curls, or a dusting of cocoa powder. Serve with espresso for contrast.
2. Festive Delight
Add a spoon of salted caramel sauce or sprinkle with crushed peppermint for a Christmas twist.
3. Rustic Charm
Garnish with sea salt flakes and a drizzle of olive oil — a surprising combination that deepens the chocolate flavor.
4. Layered Temptation
Alternate layers of pudding with crushed biscuits, nuts, or berries for texture and color.
Pro Tips from Dessert Experts
To achieve the most luxurious pudding possible, keep these professional secrets in mind:
- Use room-temperature eggs — they blend better and prevent curdling.
- Don’t rush the cooking. Low and slow ensures creaminess.
- Always use full-fat milk and cream. The fat content carries flavor and gives that luscious mouthfeel.
- Strain the pudding through a fine sieve before chilling for a silky-smooth finish.
- For an adult twist, stir in a tablespoon of liqueur — Grand Marnier, Baileys, or Kahlúa work wonders.
Creative Variations You’ll Love
Here’s how you can tweak this base recipe for new sensations:
1. Mocha Chocolate Pots
Add a shot of espresso for an aromatic, slightly bitter note.
2. White Chocolate Dream
Swap dark chocolate for white, and infuse with vanilla bean for a delicate dessert.
3. Mint Chocolate Indulgence
Add peppermint extract and top with chocolate shavings for a refreshing finish.
4. Vegan Version
Use coconut milk and dark vegan chocolate, thickened with arrowroot powder instead of eggs.
Chocolate Pudding Pots prove that culinary luxury doesn’t require complexity. They’re smooth, rich, and satisfying — each spoonful offering a perfect balance of sweetness and sophistication.
Whether it’s a dinner party or a self-care moment on a cold night, these small pots of heaven bring joy in every bite.
Discover how to make rich, creamy Chocolate Pudding Pots with this easy recipe.