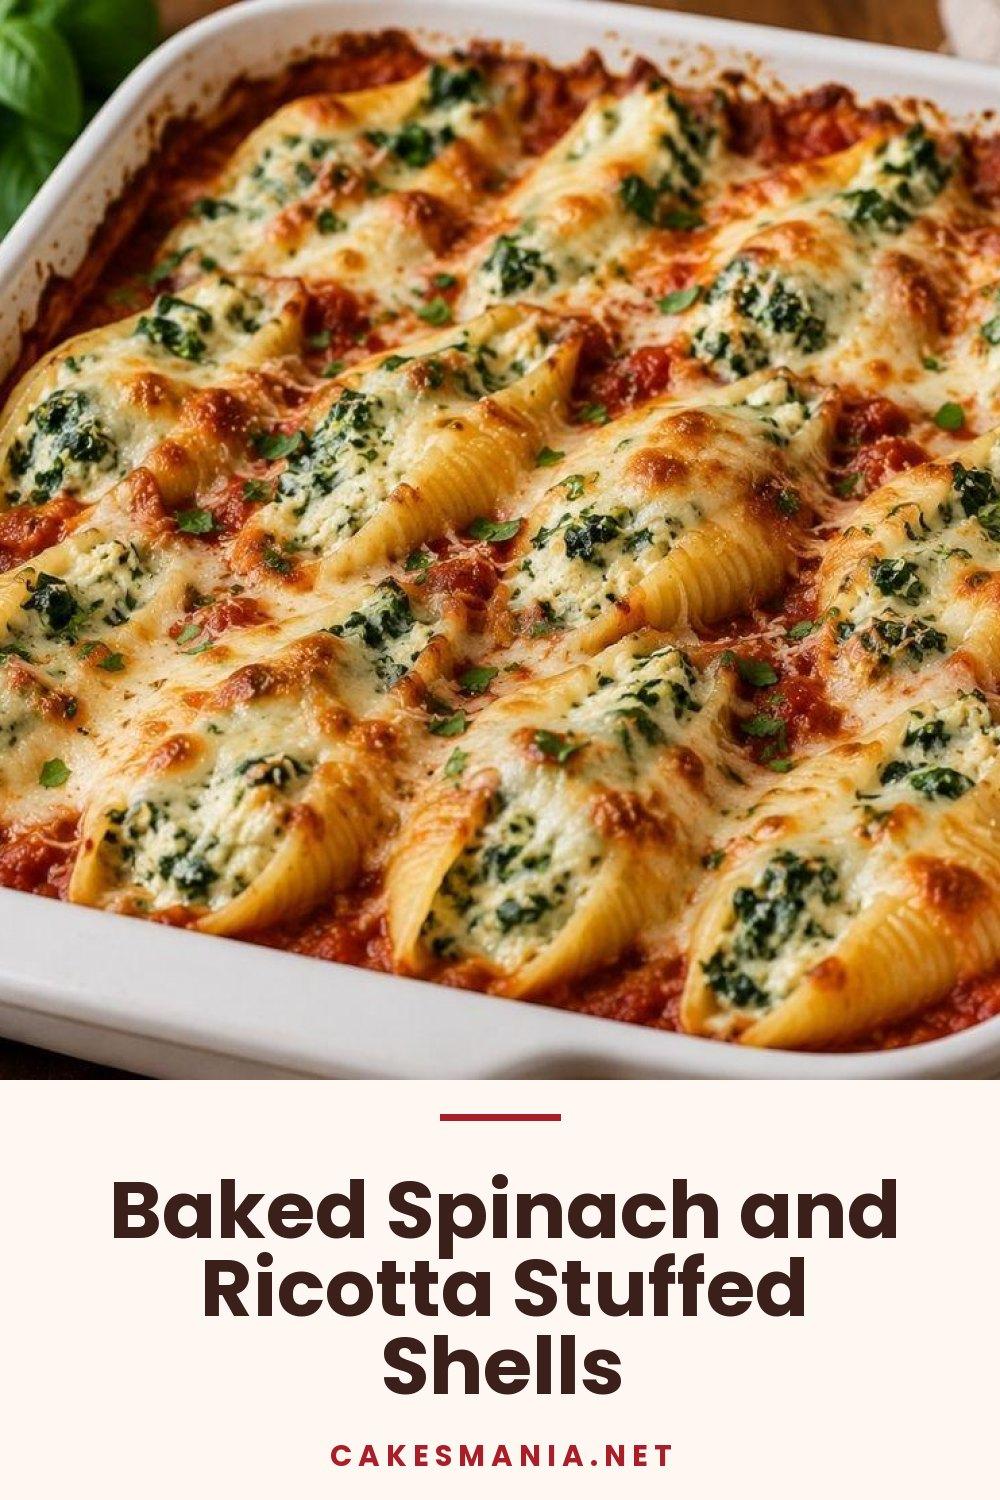
Baked Spinach and Ricotta Stuffed Shells


Some savoury recipes are ideal because they look generous and comforting without requiring complicated cooking. These Baked Spinach and Ricotta Stuffed Shells are exactly that kind of dish.
Large pasta shells are filled with a creamy mixture of ricotta, spinach, Parmesan and herbs, then arranged over tomato sauce, topped with mozzarella and baked until bubbling and golden around the edges.
The result sits somewhere between lasagne and baked pasta, but the individual shells make it easier to serve and give every portion plenty of filling.
This is also a useful recipe when you want a meat-free dinner that still feels substantial. The ricotta provides richness, spinach keeps the filling fresh, and the tomato sauce balances everything with acidity.
You can prepare the dish several hours in advance, refrigerate it and bake it just before dinner, making it particularly convenient for family meals or entertaining.
Baked Spinach and Ricotta Stuffed Shells Recipe
Preparation time: 30 minutes
Baking time: 30–35 minutes
Servings: 4–6
Ingredients
For the pasta
- 250 g jumbo pasta shells
- Salt, for the cooking water
For the filling
- 400 g ricotta cheese
- 250 g fresh spinach
- 60 g grated Parmesan
- 1 large egg
- 2 garlic cloves, minced
- ½ teaspoon dried oregano
- ¼ teaspoon ground nutmeg
- ½ teaspoon black pepper
- Salt, to taste
For assembly
- 500 ml tomato passata or smooth tomato sauce
- 150 g mozzarella, grated
- 30 g Parmesan, grated
- 1 tablespoon olive oil
- Fresh basil, for serving
Instructions
1. Cook the pasta shells
Bring a large saucepan of salted water to the boil.
Add the pasta shells and cook them for approximately 2 minutes less than the package instructions.
They should be flexible but still fairly firm because they will continue cooking in the oven.
Drain carefully and place them individually on a clean tray or large plate.
Drizzle very lightly with olive oil to prevent sticking.
Allow them to cool while preparing the filling.
2. Prepare the spinach
Place the spinach in a large frying pan over medium heat.
You do not need much oil because the leaves will release moisture as they cook.
Stir for approximately 2–3 minutes, until completely wilted.
Transfer the spinach to a colander and allow it to cool slightly.
Then squeeze out as much excess water as possible.
This step matters. Too much moisture can make the ricotta filling watery.
Finely chop the drained spinach.
3. Make the ricotta filling
Place the ricotta in a large bowl.
Add the chopped spinach, Parmesan, egg, garlic, oregano, nutmeg, black pepper and a small pinch of salt.
Stir until evenly combined.
Taste the mixture before adding additional salt because Parmesan already contributes quite a lot of seasoning.
The filling should be creamy but firm enough to hold its shape inside the shells.
4. Prepare the baking dish
Preheat the oven to 190°C / 375°F.
Spread approximately two-thirds of the tomato sauce over the base of a medium baking dish.
The sauce prevents the pasta from sticking and keeps the shells moist while they bake.
5. Fill the pasta shells
Take one shell and gently open it.
Spoon approximately 1 generous tablespoon of ricotta filling inside.
Place the filled shell into the baking dish with the opening facing upwards.
Continue until all the filling has been used.
Arrange the shells fairly close together so they support each other during baking.
6. Add the sauce and cheese
Spoon the remaining tomato sauce around and lightly over the shells.
Try not to completely cover the ricotta filling.
Scatter the grated mozzarella over the top, followed by the additional Parmesan.
Drizzle lightly with olive oil.
7. Bake
Cover the dish loosely with aluminium foil and bake for 20 minutes.
Remove the foil and continue baking for another 10–15 minutes, until the cheese is melted and beginning to turn golden.
The tomato sauce should be bubbling around the edges.
For a slightly more browned surface, place the dish under the grill for 1–2 minutes at the end, watching it carefully.
Serving Suggestions
Allow the stuffed shells to rest for approximately 5–10 minutes before serving.
Finish with fresh basil and a little extra Parmesan.
They pair particularly well with:
- a simple rocket salad;
- garlic bread;
- roasted courgettes;
- grilled aubergine;
- steamed green beans.
If you want a richer version, add small cubes of mozzarella inside each shell before baking.
For a little heat, mix chilli flakes into the tomato sauce.
Variations
This recipe is easy to adapt.
Spinach and mushroom
Add finely chopped sautéed mushrooms to the ricotta mixture.
Ricotta and roasted pepper
Replace some of the spinach with roasted red peppers.
Chicken version
Add small pieces of cooked shredded chicken to the filling.
Extra cheesy
Mix grated mozzarella or provolone directly into the ricotta mixture before filling the shells.
Conclusion
These Baked Spinach and Ricotta Stuffed Shells are a great option when you want a savoury dinner that feels comforting but still relatively simple.
The combination of creamy ricotta, spinach, tomato sauce and melted cheese delivers all the appeal of classic baked pasta without needing layers or complicated assembly.
They are also practical because much of the recipe can be prepared in advance.
Fill the shells, arrange them in the sauce, cover the baking dish and refrigerate. When dinner approaches, simply add the cheese and bake.
Serve with a crisp salad and warm bread, and you have a generous homemade meal that works just as well for a relaxed weekday dinner as it does for guests.