Birthday cake scenes


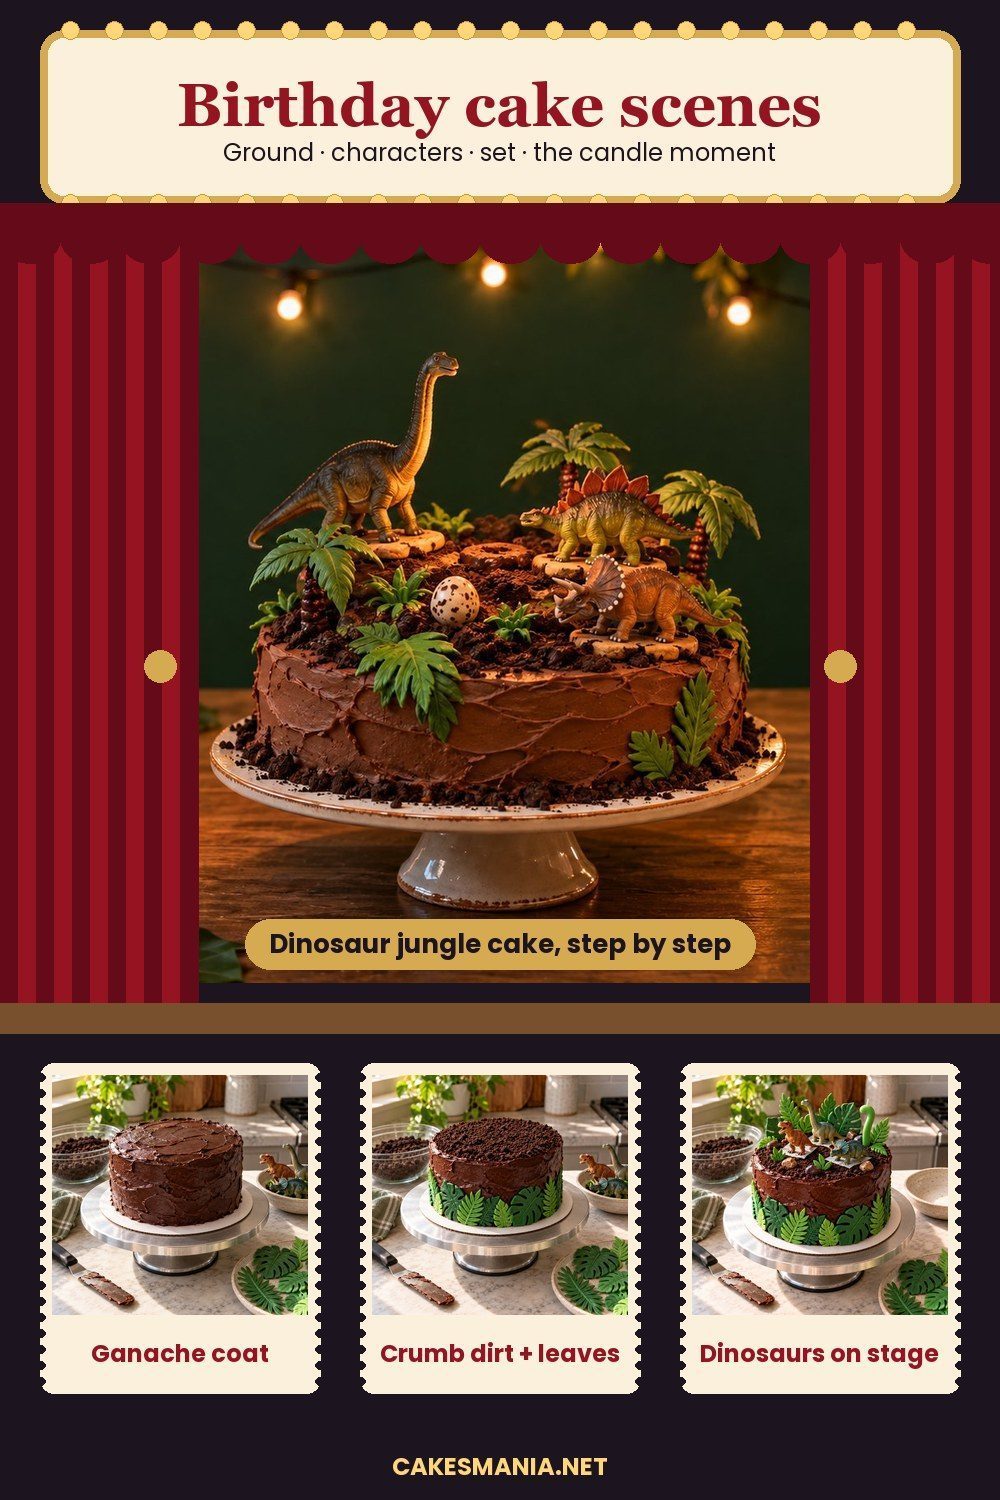
Birthday cake scenes turn a cake into a little world, then carry that story into the birthday photo. Build four layers: ground, characters, set and moment. The fastest version is a store-bought or simple frosted cake, cookie-crumb dirt and washed toy figures on cookie or fondant barriers. The showpiece below is a chocolate dinosaur jungle scene cake with leafy edges and a chocolate egg.
The ground: landscapes you pipe, crumb or pour
Dark crumbs suggest a jungle trail, short green piping makes a garden, and translucent blue gelatin creates a shoreline.
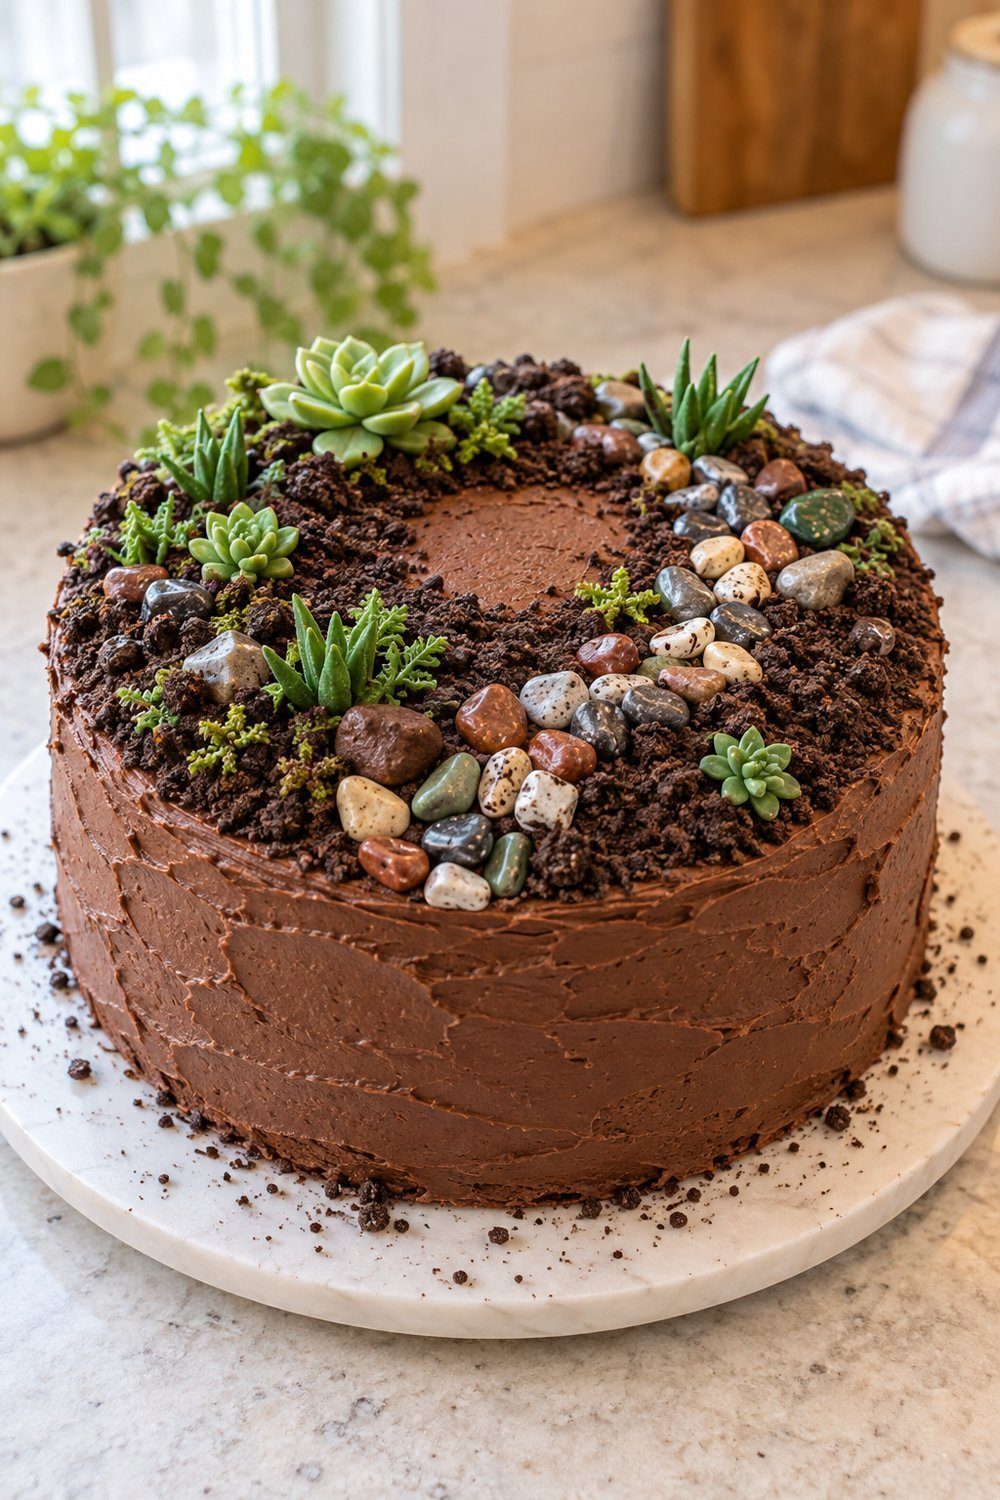
Dark cookie crumbs make convincing soil for a dinosaur dig, a woodland clearing or a tiny construction site. Crush sandwich cookies with their filling, then scatter the crumbs over tacky chocolate frosting. Curve a trail through the dirt with edible candy rocks. Adapted from Sally’s Oreo crust, this loose topping leaves out the butter. Sprinkle close to serving; the succulents are buttercream or sugar-paste, never real plants.
You'll need: cookie crumbs, chocolate frosting, candy rocks and edible succulents. 2 cups (250 g) is Sally’s crust quantity; use less for a thin layer of dirt.
How-to from Sally McKenney, Sally’s Baking
Buttercream grass around a garden clearing
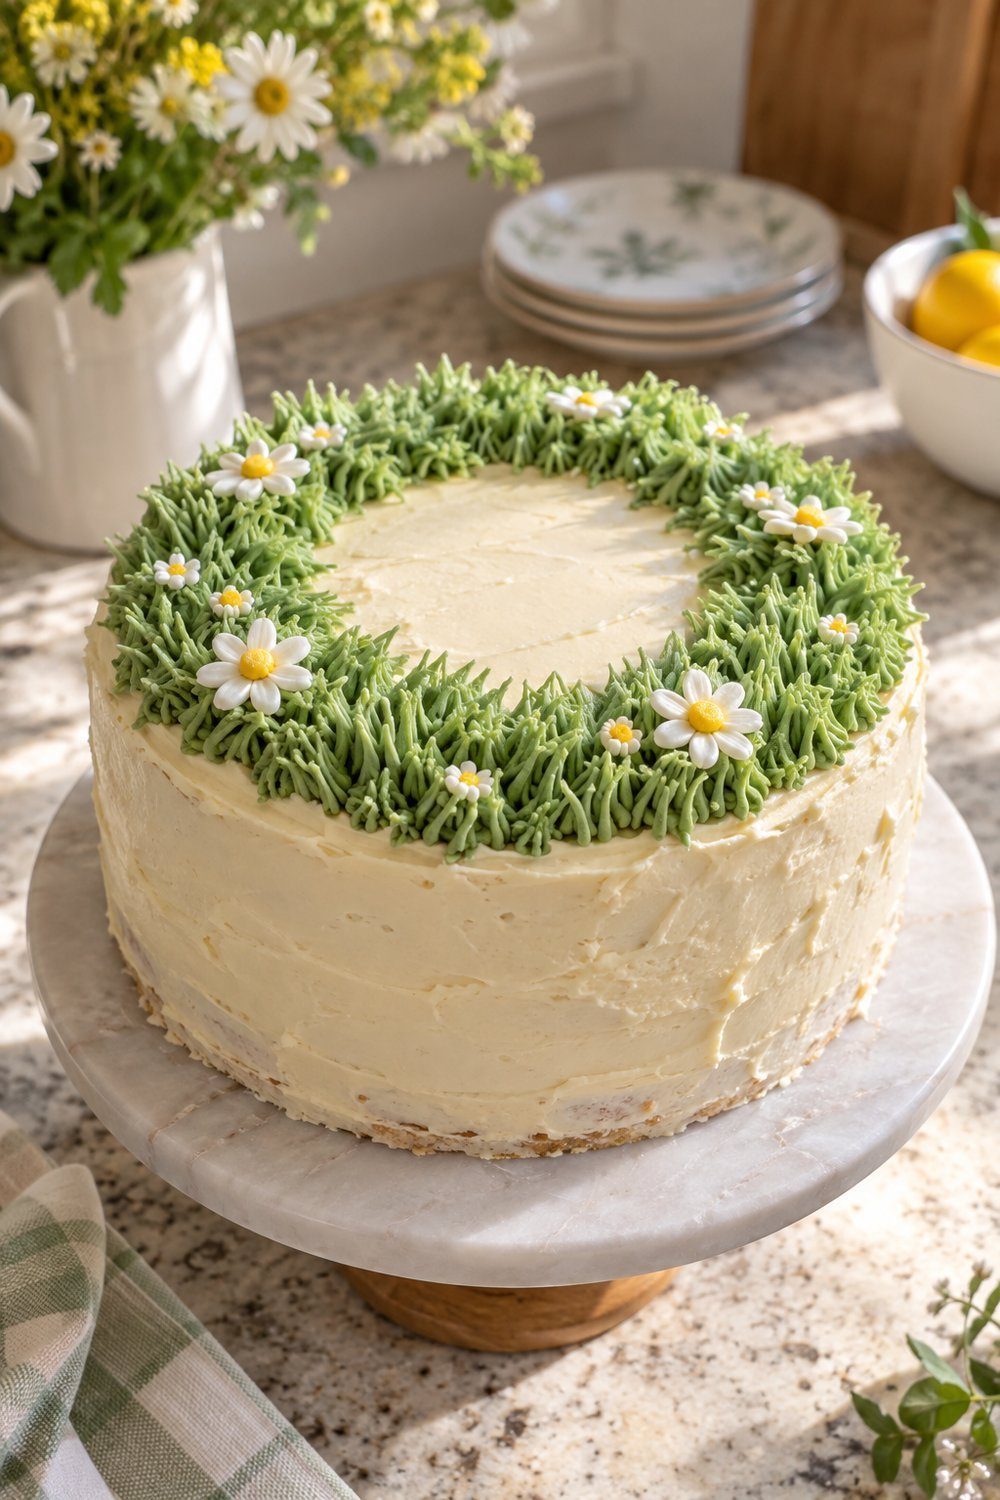
Short grass makes a cheerful landing place for sugar flowers, farm animals or a picnic scene. Adapt Wilton’s grass technique: tint medium-consistency buttercream green, hold the grass tip upright and squeeze gently. Lift as the strands grow, releasing pressure before pulling away. Pack the tufts together around the clearing while leaving the middle available for a character. Pipe during the final decorating session, then refrigerate with the finished cake overnight following the storage method in the timeline.
You'll need: a piping bag fitted with tip 233, green food coloring and medium-consistency buttercream.
How-to from Wilton
Blue gelatin water beside a sandy beach
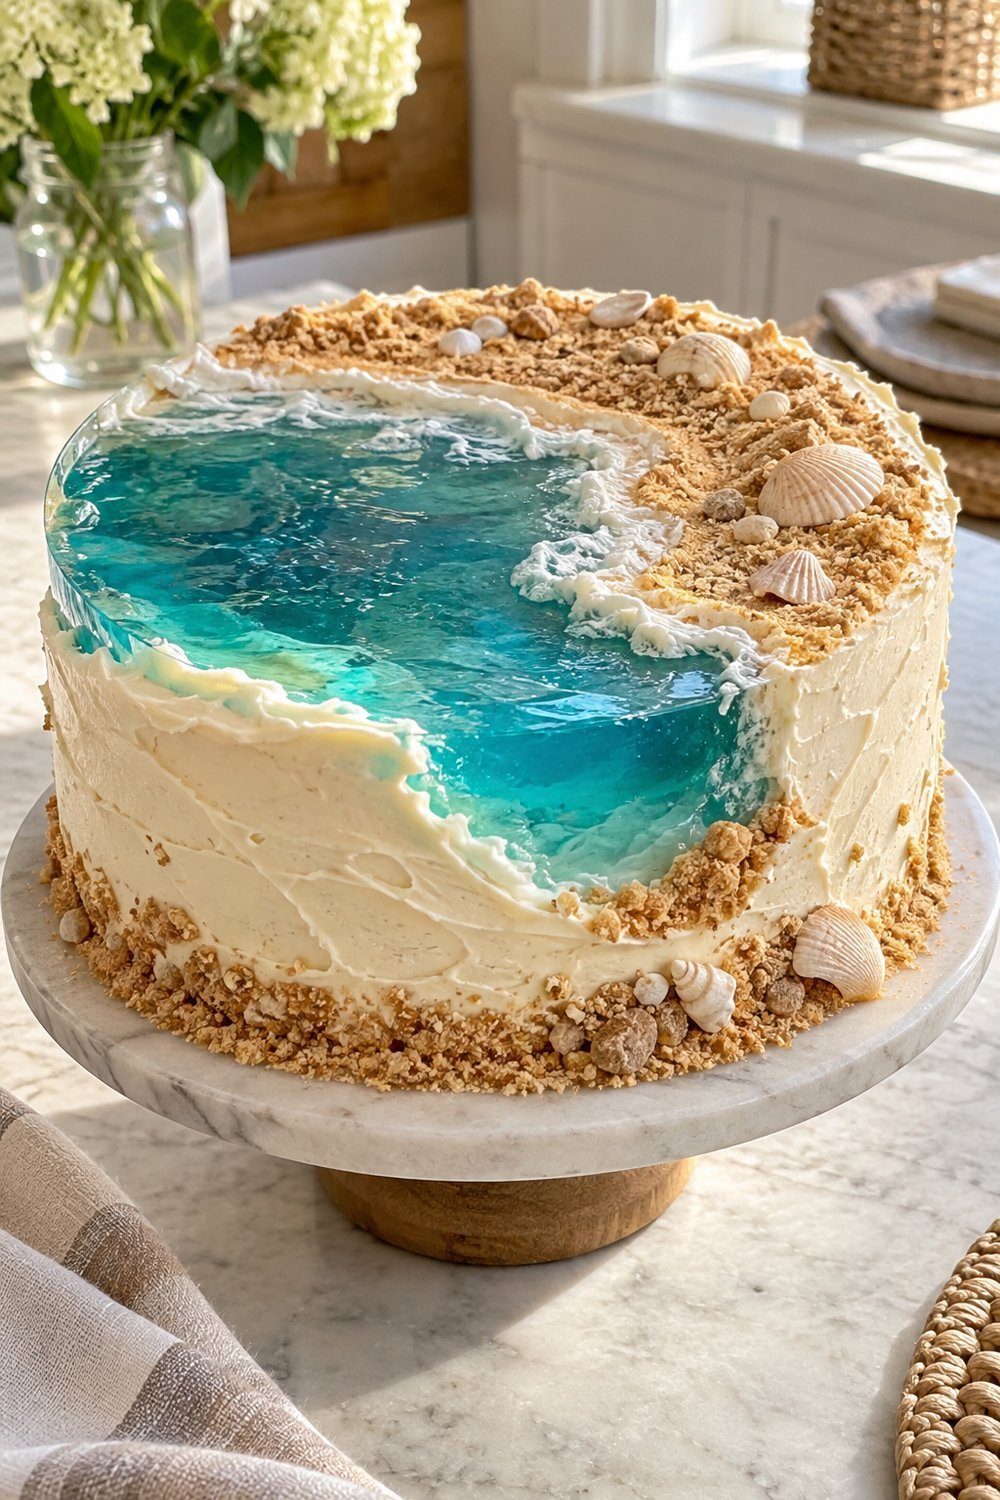
A glossy blue inlet gives a beach scene depth. Adapt Chelsey’s cake-carving and acetate-sheet method: seal exposed cake with buttercream, then wrap tightly in acetate. Add set blue gelatin crumbles and cooled gelatin mixture; refrigerate until set before peeling off the sheet. Finish with graham crumbs and candy or chocolate shells, our additions. Colored gelatin keeps covered in the refrigerator up to a week ahead. For another shoreline approach, see Beach Inspired Cakes With Sugar Shells and Blue Waves.
You'll need: blue gelatin, an acetate sheet, graham crumbs and about 2 hours for the initial colored gelatin to set; allow further setting time as the recipe directs.
How-to from Chelsey White, Chelsweets
Who stands on the cake
Choose a toy, an edible model or a paper silhouette. Keep its standing area flat and firm.
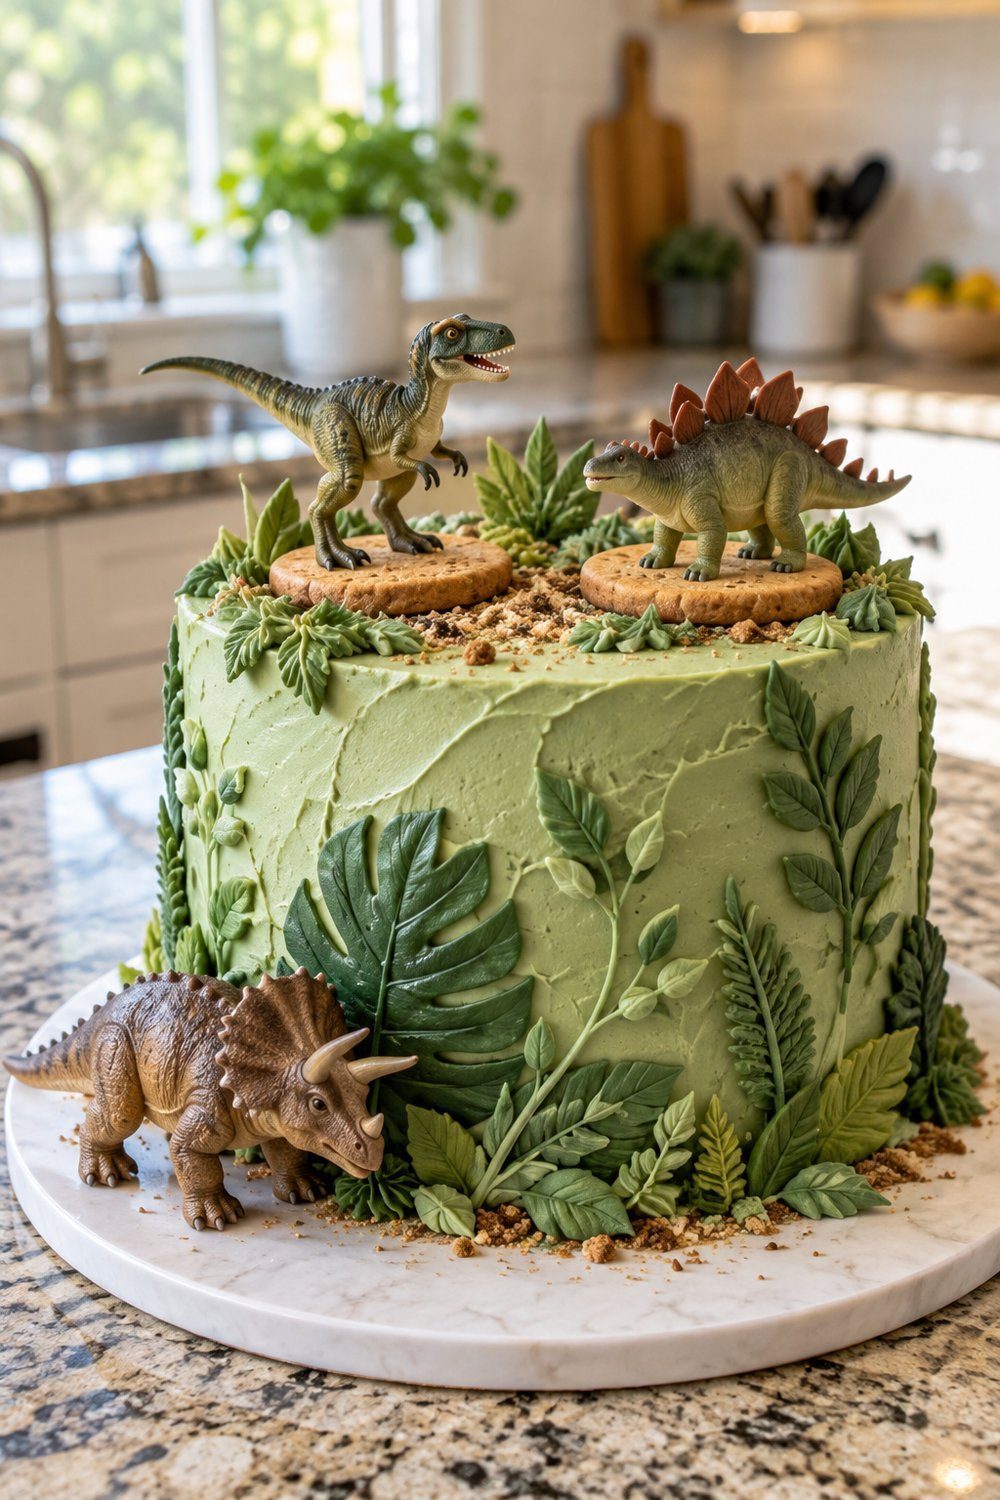
A birthday cake with toy figures is the quickest way to make the theme clear. Wash and dry intact figures, frost the cake and chill until the coating feels firm. Set each toy on a broad cookie or fondant barrier that keeps every foot and tail off the frosting; place heavier toys on the cake board. Julianne’s source is a 6 in smash cake with dinosaur footprints; the cookie bases and washing toys are our adaptation. Her layers can be baked up to 2 days ahead.
You'll need: washed toy dinosaurs, broad edible bases, a cake board and about 30 minutes to firm the frosted cake. Remove toys and all non-edible pieces before slicing.
How-to from Julianne Dell, Beyond Frosting
A modeled dinosaur peeking from an egg
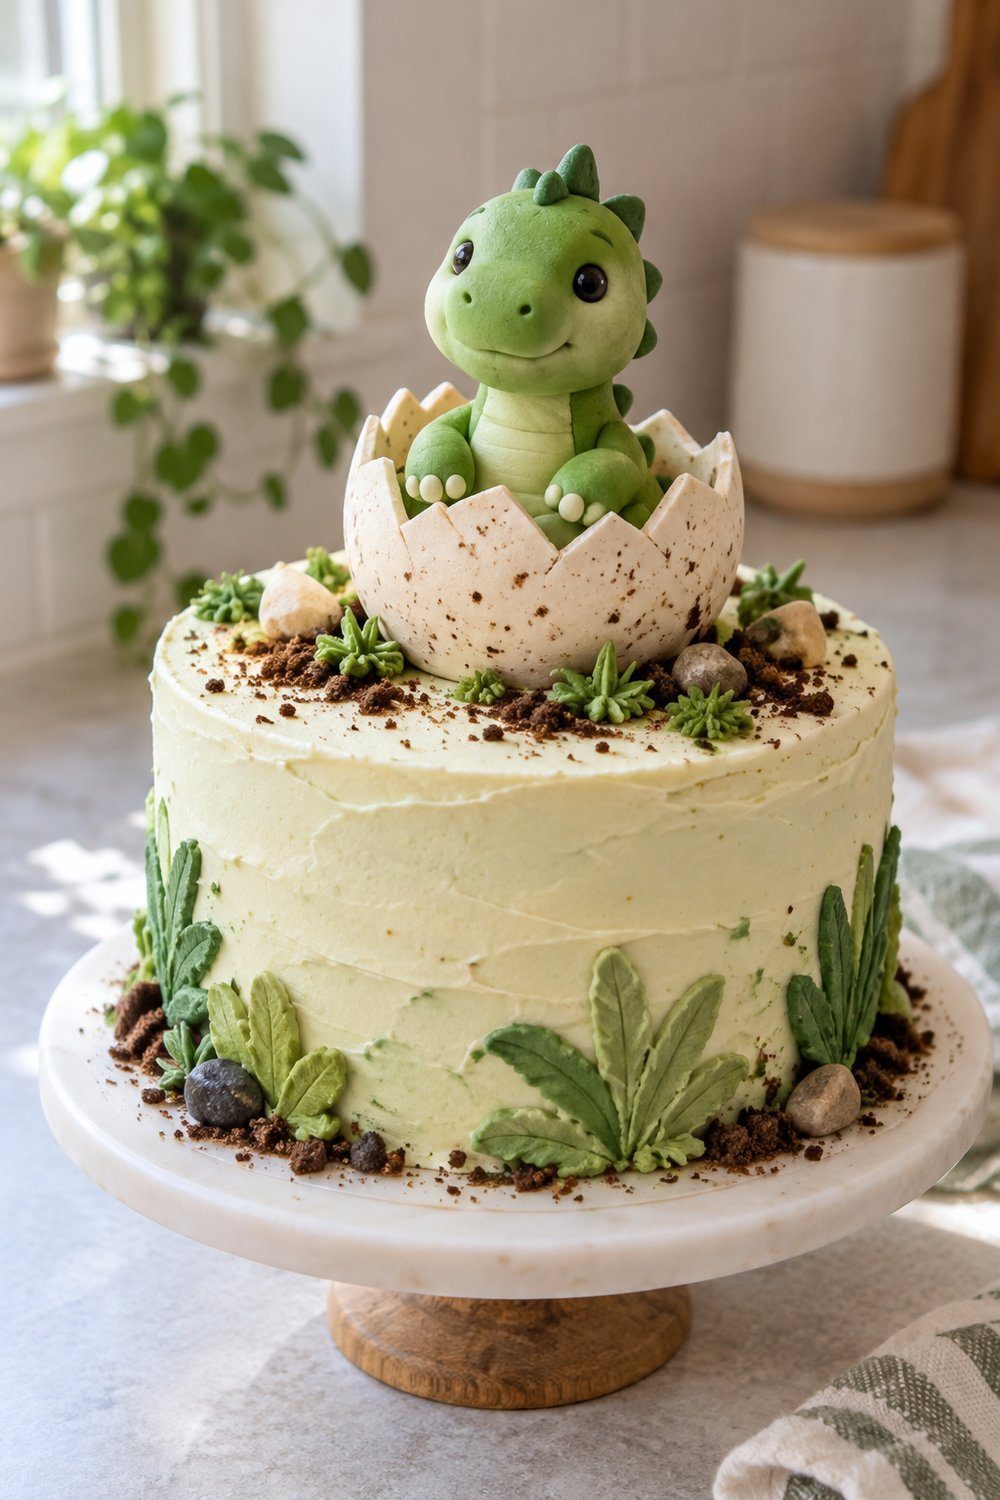
A little dinosaur emerging from a cracked shell gives you an edible focal point with an obvious story. Form a shallow modeling-paste shell and leave it in a shaping bowl overnight. Shape the body and head, then attach them with edible glue using Vicki’s tutorial. Her head support is a cocktail stick: treat the whole topper as a removable decoration and tell the person cutting the cake. Keep it upright in its bowl until the shell is dry and firm.
You'll need: about 0.9 oz (25 g) green modeling paste for the body and 0.7 oz (20 g) for the head, plus paste for the shell, edible glue and a removable support.
How-to from Vicki, The Cake Decorating Company
Paper character medallions on food-safe sticks
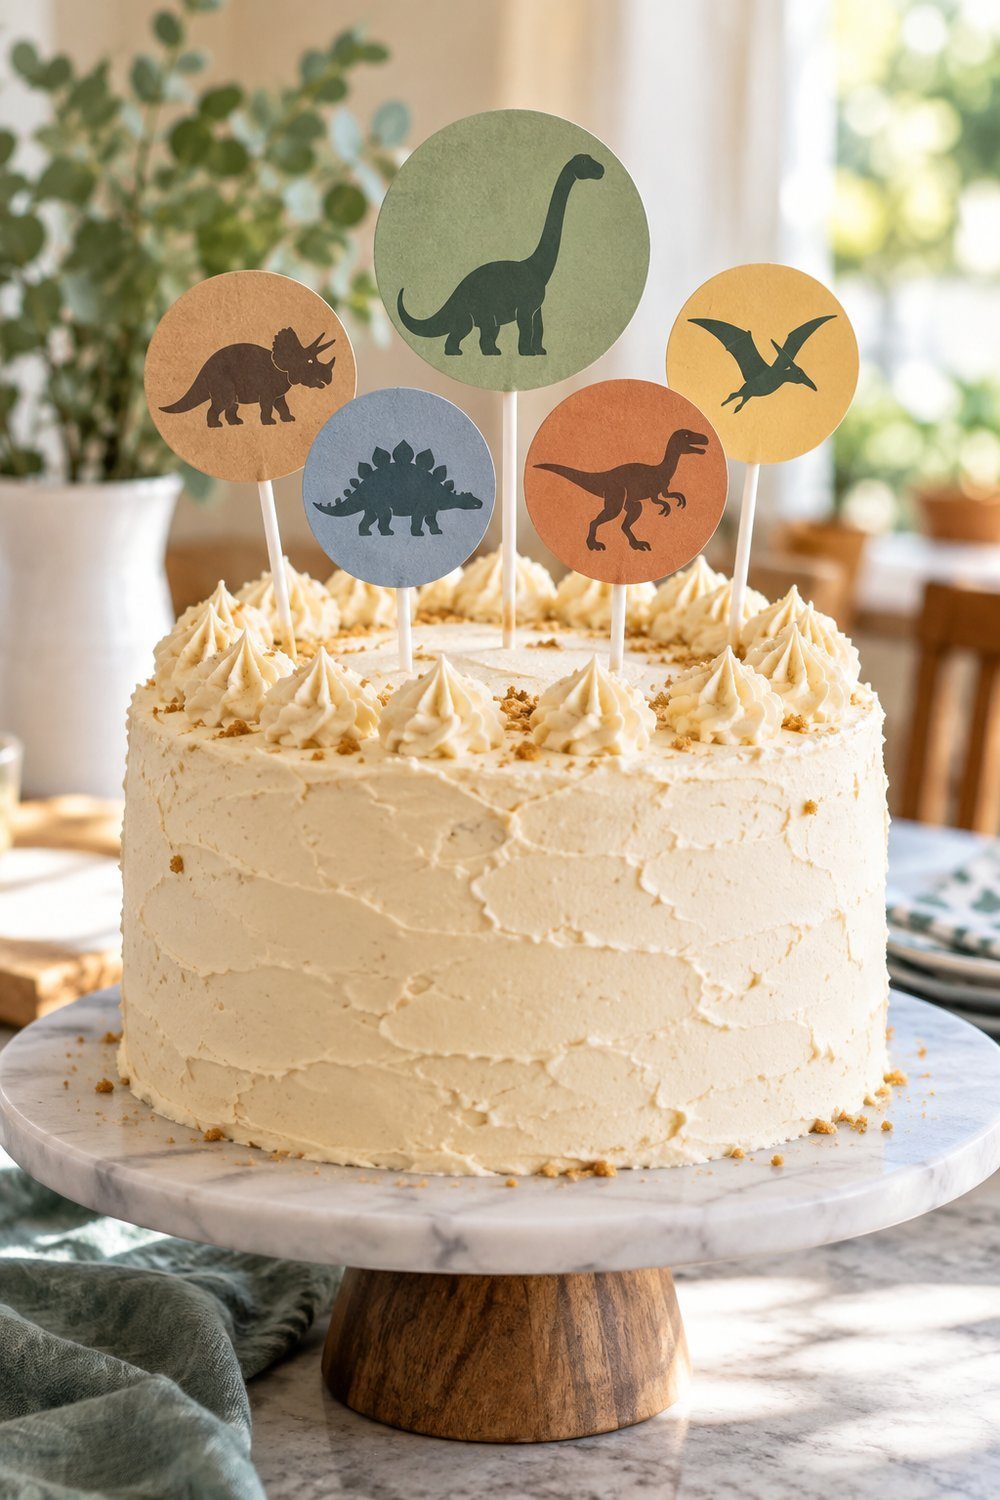
Paper silhouettes let a favorite character join the scene, adapted from Louise’s cupcake toppers (2 in punches). Punch circles, glue the paper layers together and attach each medallion to a food-safe lollipop stick, following Louise’s construction method. Keep paper and glue above the cake, with only the clean stick entering the frosting. Prepare the toppers ahead and store them flat and dry until assembly. Set the sticks into a firm cake upright, then remove the complete toppers before slicing or handing out portions.
You'll need: a 2 in (5 cm) paper punch, craft paper, glue and food-safe lollipop sticks. Keep craft glitter on decorations away from food; inedible glitter never belongs on cake.
How-to from Louise, Cake Journal
The showpiece in depth: a dinosaur jungle scene cake
Build this dinosaur scene cake on Dr. Oetker’s chocolate cake and buttercream, adding ganache, fondant palm leaves, a chocolate egg and washed toys on barriers. The base fits an 8 in (20 cm) cake. The chocolate egg and fondant or wafer leaves are our additions. This adaptation has not been separately tested. Place the tallest dinosaur at the back.
Base cake and buttercream from Dr. Oetker; ganache from Sally's Baking Addiction; layer timing from Beyond Frosting; storage from Sugar & Sparrow. The scene is our adaptation.
For the showpiece’s thin outer coat, follow Sally’s chocolate ganache method.
- A fully cooled chocolate cake made in the source’s pair of 8 in (20 cm) pans; follow its full batter recipe.
- For its filling and buttercream coat: 8.8 oz (250 g) unsalted butter, 17.6 oz (500 g) powdered sugar, 1.75 oz (50 g) cocoa and 2 tsp (10 ml) vanilla extract.
- For Sally’s ganache batch: 8 oz (225 g) semisweet chocolate and 1 cup (240 ml) heavy cream, yielding about 1 1/2 cups (360 ml). Use it as a thin outer coat over the buttercream.
- Use about 100 g (1 cup) of crushed chocolate cookies, adapted from Dr. Oetker’s “100 g Chocolate Chip Cookies”; the cup measure is approximate.
- Green fondant or edible wafer-paper palm leaves, a ready-made chocolate egg, washed toy dinosaurs, parchment squares, candy rocks, a plain green curved candle and a sturdy cake board.
- Bake the chocolate layers using the source recipe at 355 °F (180 °C) in a conventional oven for 35 to 40 minutes, until a skewer comes out clean. Cool completely. You can bake 2 days ahead and double-wrap the cool layers; freeze them if working earlier.
- Make the chocolate buttercream with the listed ingredients. Spread some between the layers, then crumb-coat the cake on its board, reserving the rest for the final coat and decorating. Chill for 15 minutes after the crumb coat, following Beyond Frosting. This stage can stay refrigerated overnight before you continue.
- Apply the final buttercream coat, keeping a little for decorating, then chill for about 30 minutes, as Beyond Frosting directs. Make Sally’s ganache and cool until spreadable. Our adaptation adds a thin, rough ganache coat over the firm buttercream; refrigerate until it can hold the decorations.
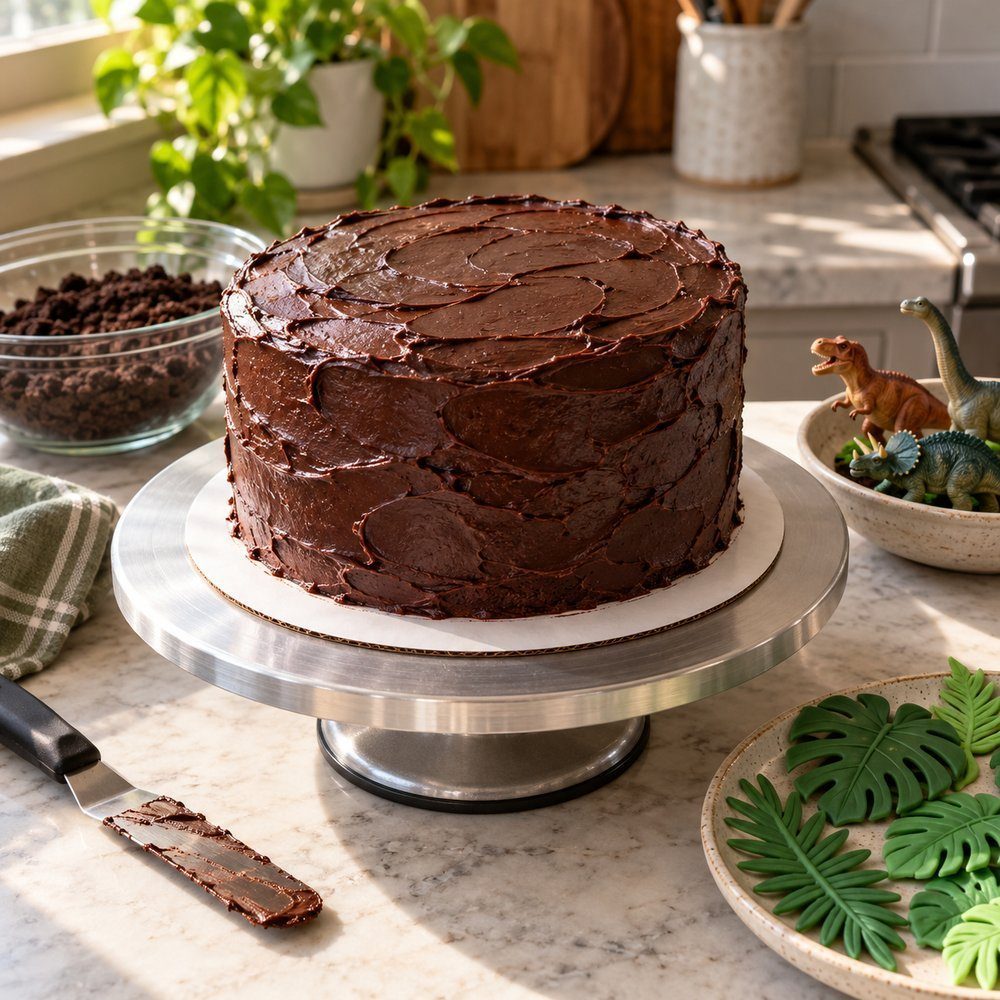
- Crush the cookies and brush a little reserved soft buttercream onto the chilled top where you want the dirt. Press crumbs gently into that patch, keeping the trail open and the cake board tidy. Add more around the bottom edge only where you want the jungle floor to continue.
- Cut palm and leaf shapes from green fondant, or use edible wafer-paper leaves. Attach them around the sides with small dabs of buttercream. Finish the crumb-and-leaf stage the day before; refrigerate the cake overnight, reserving delicate upright wafer leaves to add near serving.
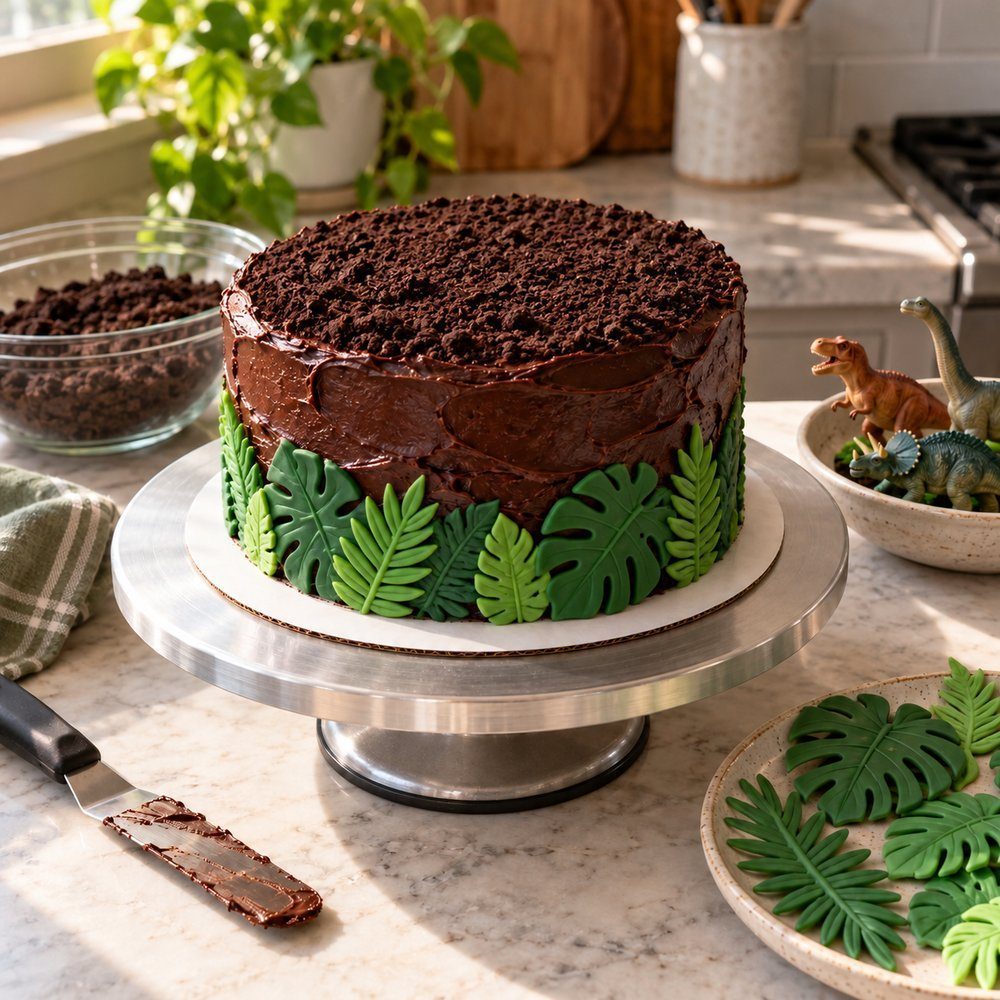
- Set the chocolate egg into a shallow nest of crumbs. Wash and fully dry the dinosaurs. Cut parchment squares broad enough to keep each toy, including its tail, clear of the frosting; leave visible edges for removal.
- Place each dinosaur on its parchment square once the cake is on display. Add palm leaves, edible candy rocks and a plain green curved candle for the finished photograph. Keep the candle unlit while toys and leaves occupy the top; add removable pieces on display day.
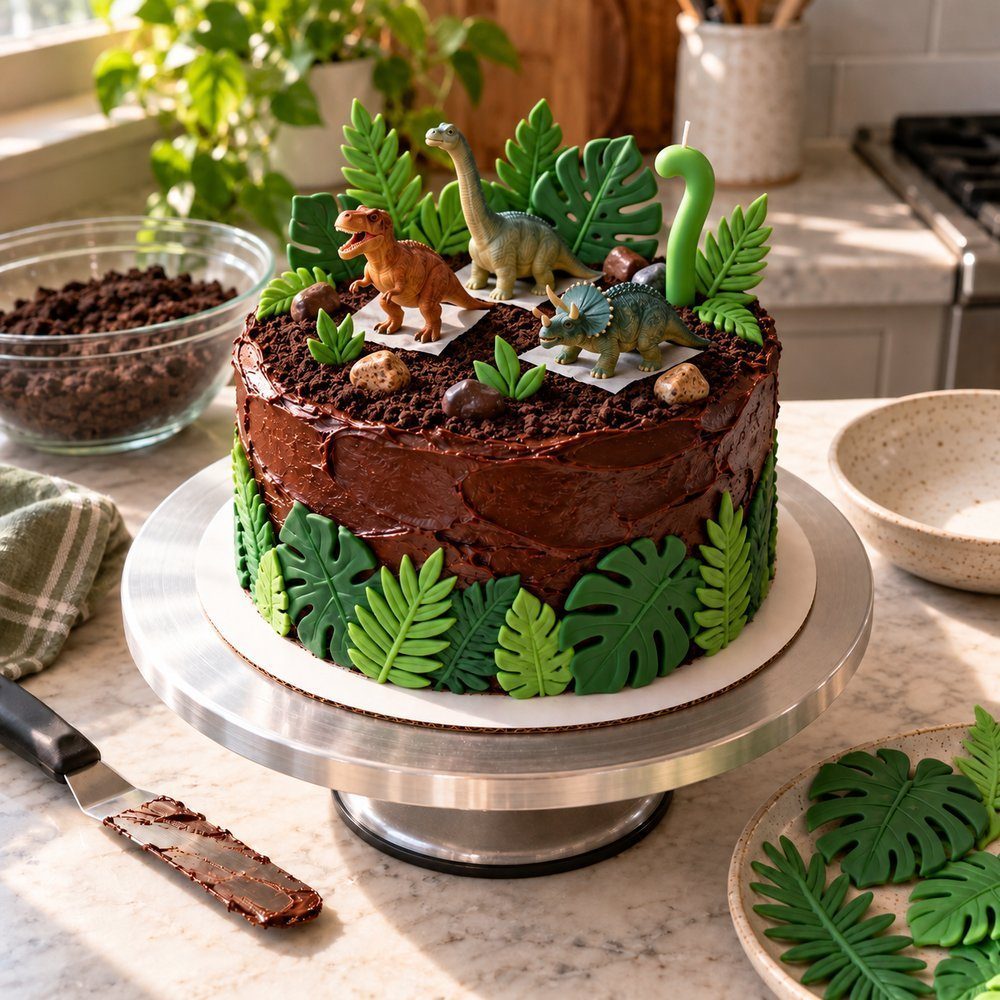
- Photograph the finished scene, then lift off the toys, the leaves, parchment squares and curved candle before slicing. For a lit-candle photograph, first clear combustible toppers and move the candle to a stable food-safe holder with the flame clearance described below.
How-to from Dr. Oetker
For a related dinosaur cake demonstration, watch Jenn Johns of Cookies, Cupcakes, and Cardio build her Jurassic World fossil cake. Use the video as another approach to an excavation scene; the jungle arrangement above uses toys and leaves instead of a traced fossil.

The set around the cake
Continue the story beyond the cake board. Leave access for slicing.
A beach cake stand against a blue backdrop
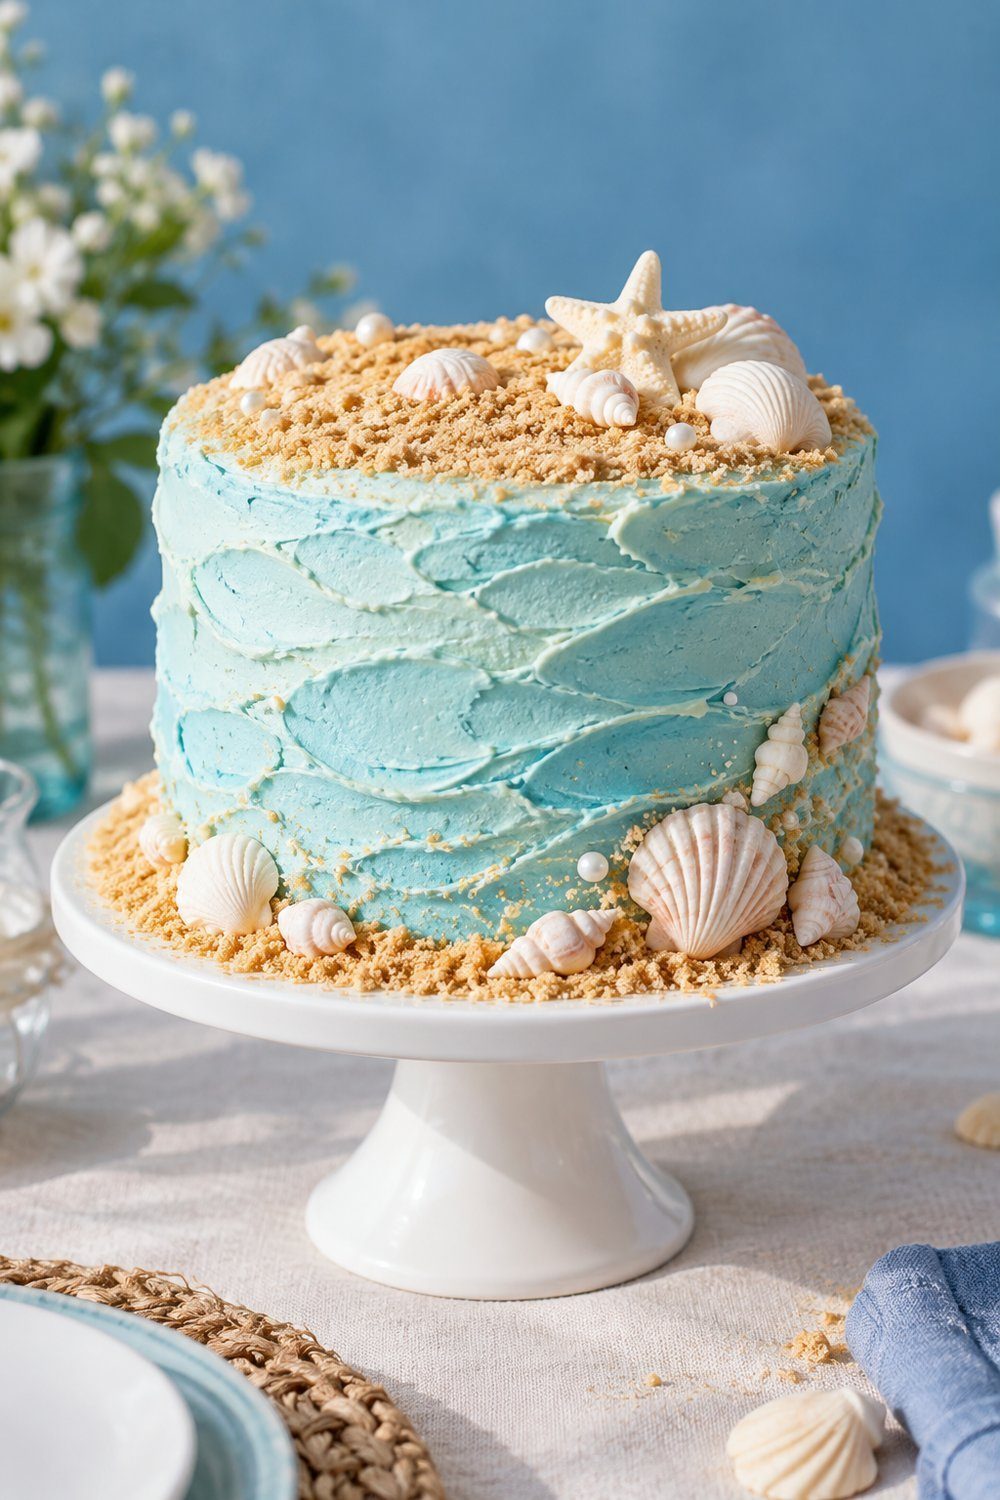
A pale cake stand and plain blue backdrop carry a shoreline scene into the room. Adapt Yolanda’s coconut beach cake for this backdrop, place its board on a sturdy stand and position a blue sheet or board behind the table. The shells are candy or chocolate, never collected beach shells. Prepare the set before bringing out the cake; add its edible sand during decorating. Follow the linked recipe’s refrigeration needs for its lemon-curd filling, keeping the display setup separate until serving.
You'll need: the source’s 8 in (20 cm) cake layers, graham crumbs, a board, a stable stand and a blue backdrop. The stand and backdrop are styling additions.
How-to from Yolanda Gampp, How To Cake It
A woodland runner beneath a bark cake
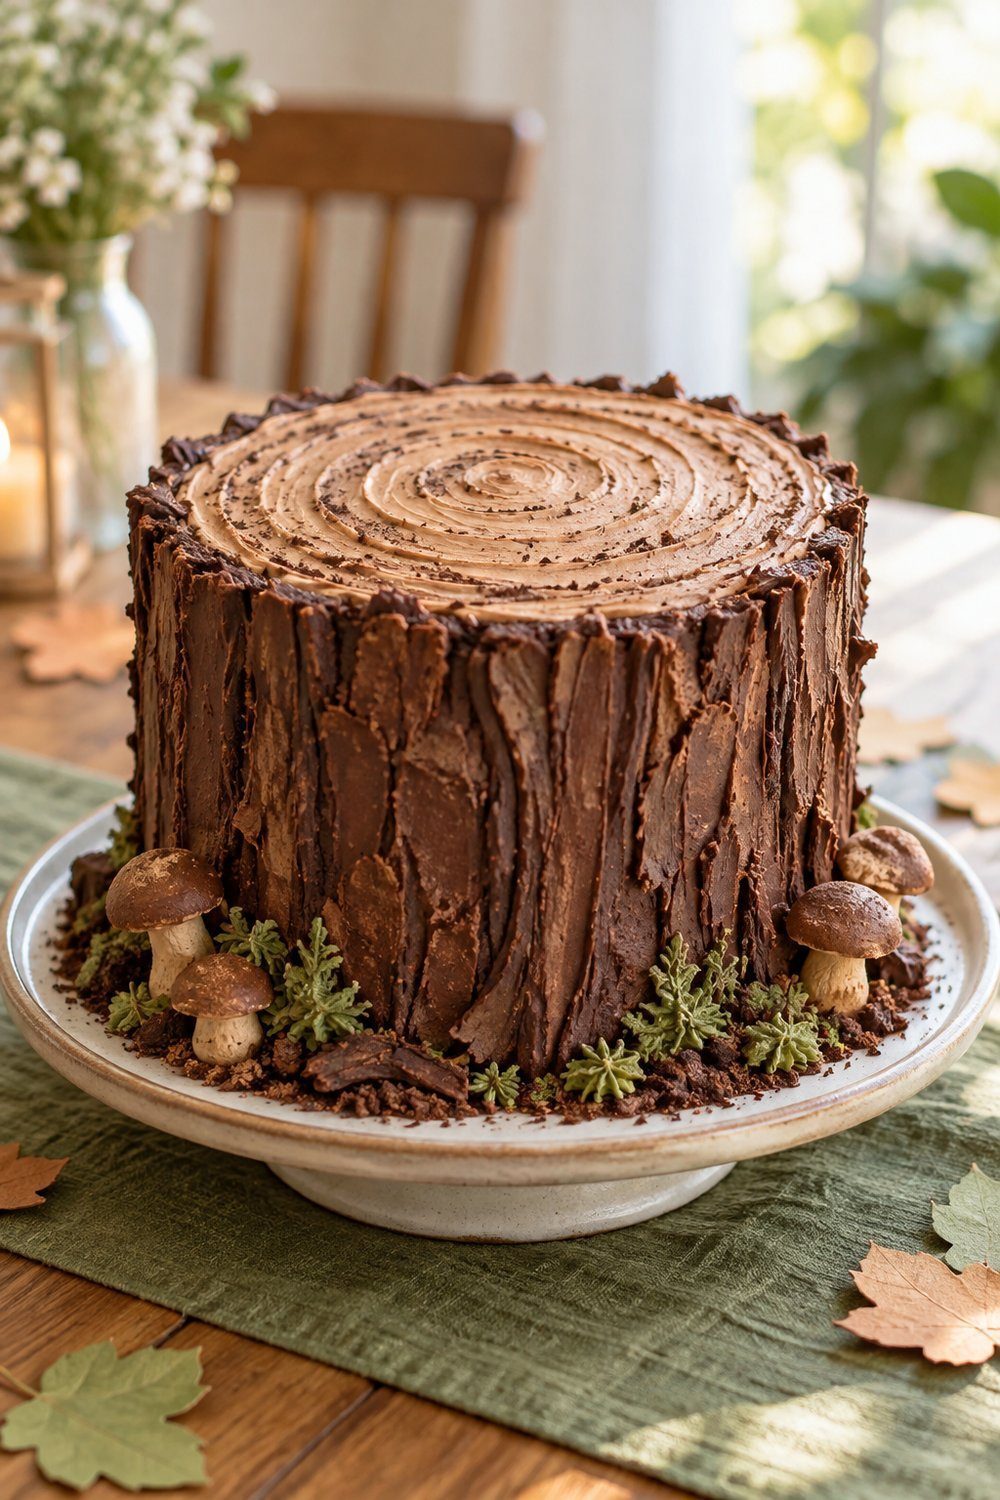
A green runner makes a tree-stump cake look like part of a woodland floor. Adapt the PBS cake method, dragging a fork through chocolate frosting for bark and piping rings on top. Set the finished cake on a food-safe plate over the runner, then arrange paper leaves around the plate. The mushrooms and greenery on the plate are meringue or sugar; keep any inedible versions on the board and remove them before serving. Keep table scatter outside the serving area so it stays separate from frosting and sliced portions.
You'll need: chocolate frosting, a fork, a piping bag and 15 to 20 minutes in the freezer for the source’s crumb coat, plus a runner and paper leaves for the table.
How-to from PBS KIDS for Parents
Warm string lights behind a campfire-style cake
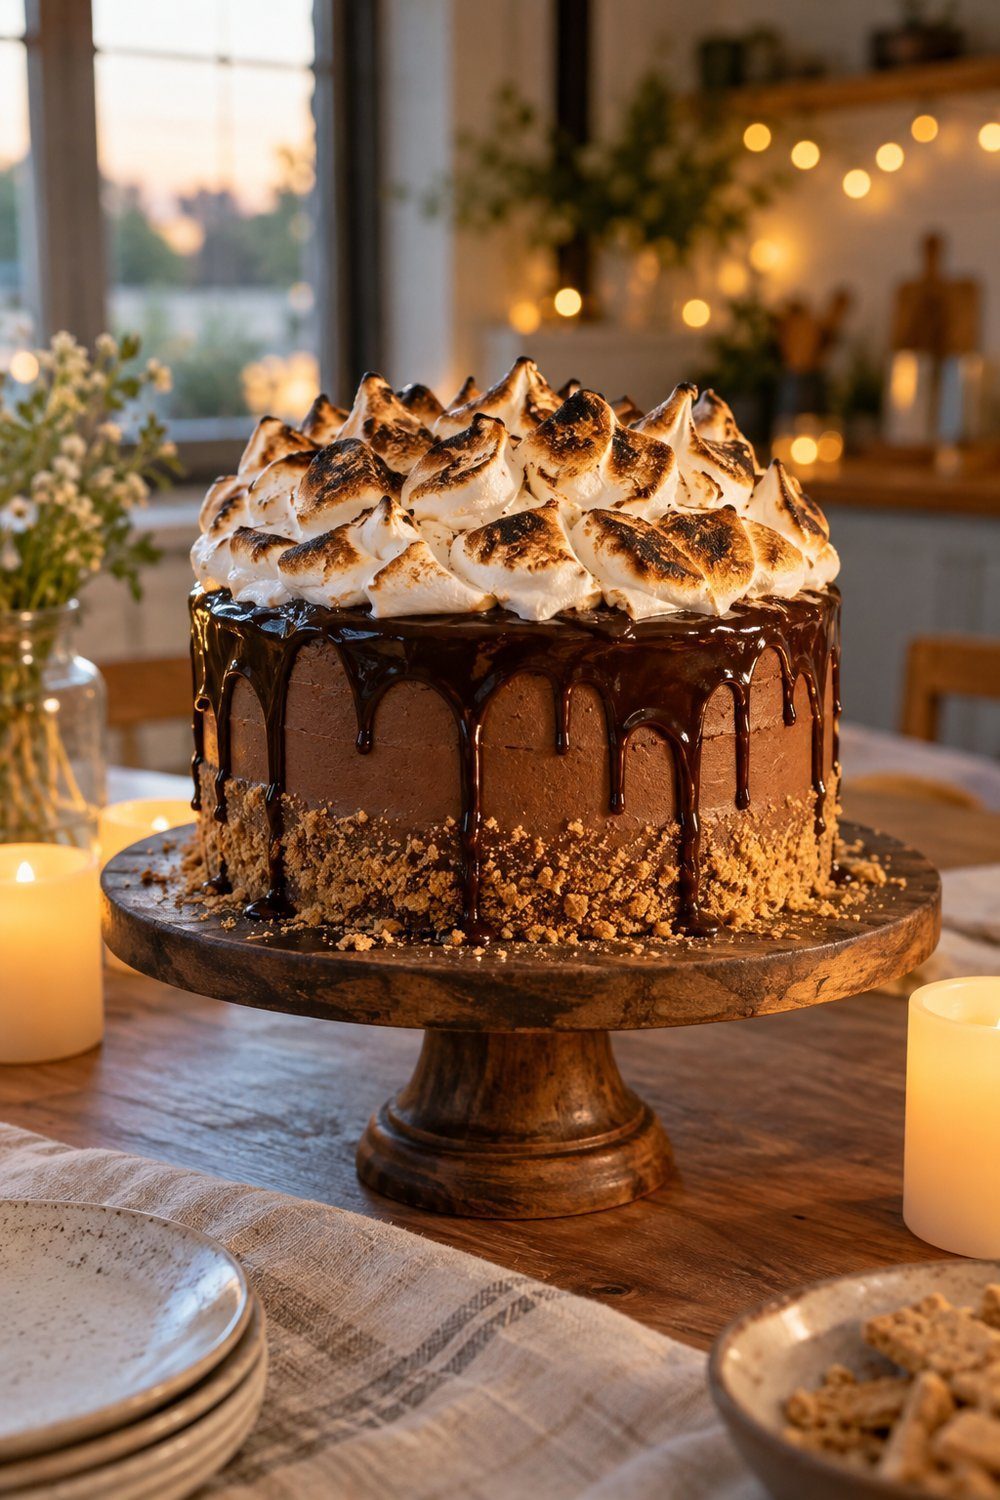
A toasted marshmallow cake already suggests a campfire evening. For our table adaptation, bake Olivia’s s’mores cake, set it on a stable stand and hang warm battery string lights behind the table to echo that glow. Prepare the lights before the party and keep their wires off the serving surface. Bake the layers ahead and freeze them as the recipe describes; toast the topping during final decorating. Use flameless table candles for this scene, especially while marshmallow and decorative props are nearby.
You'll need: the recipe’s 6 in (15 cm) cake layers, homemade marshmallow fluff, battery string lights and flameless candles. Keep any live flame at least 12 in (30 cm) from combustible decorations.
How-to from Olivia, Liv for Cake
The candle moment
Tie long hair back, clear loose sleeves and have an adult handle flames. The U.S. Fire Administration’s candle guidance calls for stable holders and at least 12 in (30 cm) from anything that burns. Clear toys, paper and flammable foliage before lighting.
The blow-out shot over a simple chocolate-frosted cake
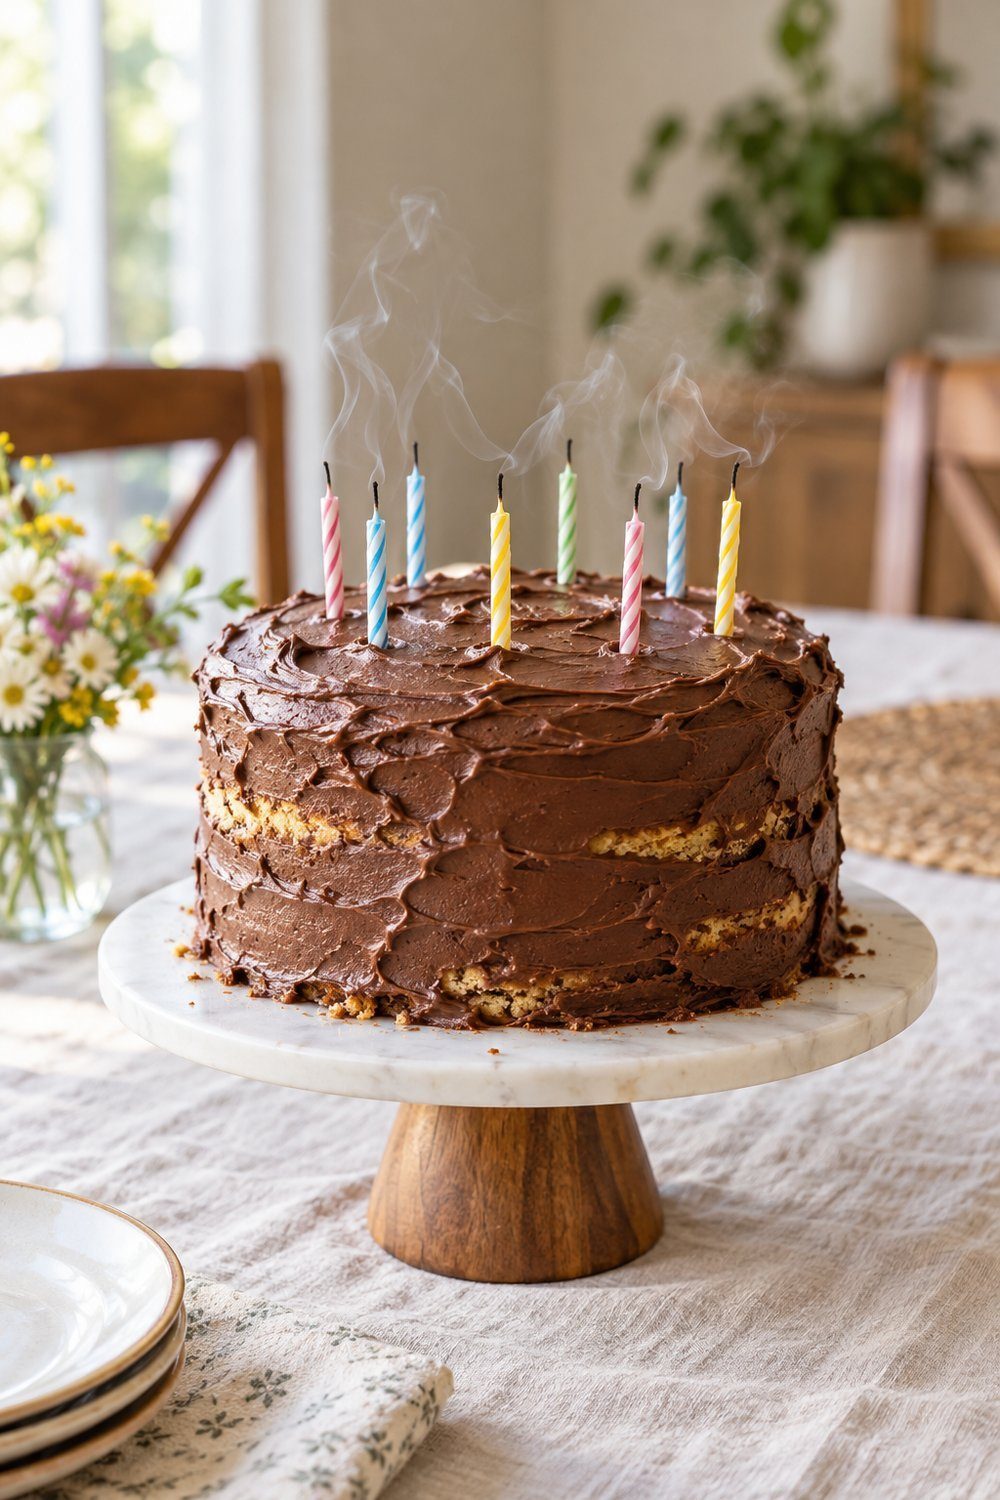
A clear cake top keeps the candle moment easy to frame. Adapt Charlotte’s yellow birthday cake with chocolate frosting for this photo, then aim the camera from the side so you can see the cake and the person’s expression. Set the framing before lighting and capture the approach, puff and drifting smoke. Store the cake covered as the recipe directs; set the camera and seating before guests gather. Keep hair and clothing back, with at least 12 in (30 cm) between flames and anything combustible.
You'll need: an 8 in (20 cm) cake, secure food-safe candle holders and a ready camera. Use the cake recipe below and the fire-safety clearance above.
How-to from Charlotte Rutledge, King Arthur Baking
A monster cake face beside the birthday portrait
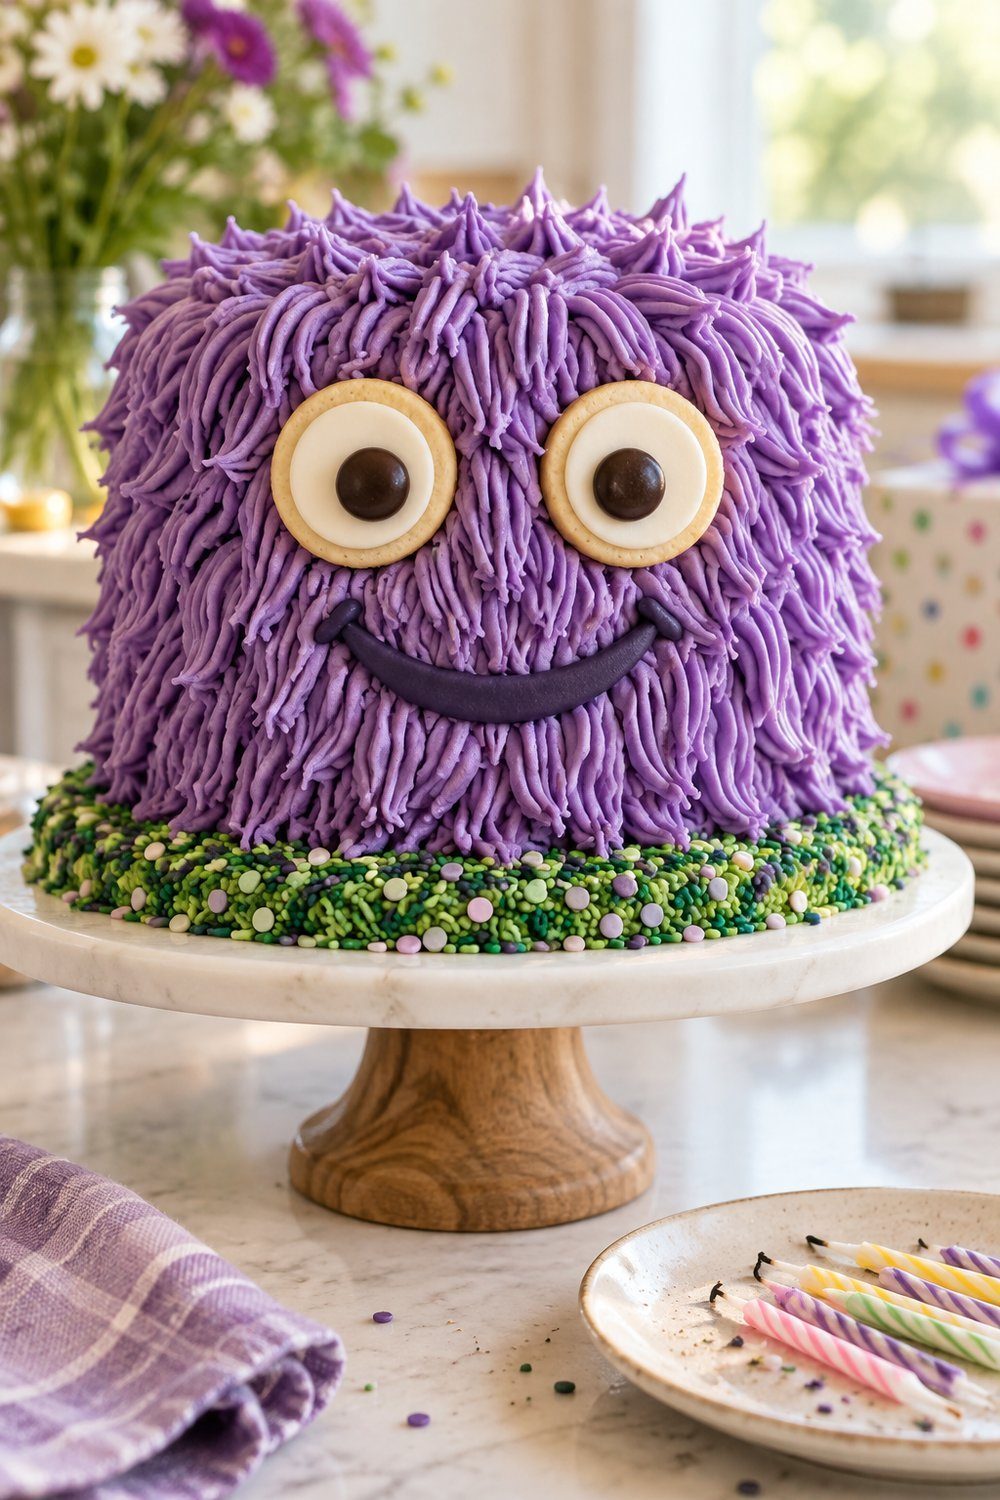
A cake face gives you a playful close-up even after the candles are out. Adapt Elizabeth’s monster decorating method (a 6 in Halloween cake; skip the horns): pipe buttercream fur, attach cookie eyes and add a fondant smile. Place the cake so its expression faces the camera, then photograph the birthday child beside it with the flames extinguished. Remove the topper’s sticks and internal supports before serving; treat attached hard candies appropriately for your guests.
You'll need: the source’s 4 in (10 cm) upper cake, a grass piping tip, cookie eyes and fondant. If candles are lit for an earlier frame, keep combustible decorations at least 12 in (30 cm) away.
How-to from Elizabeth LaBau, SugarHero
A big candle against a candy skyline
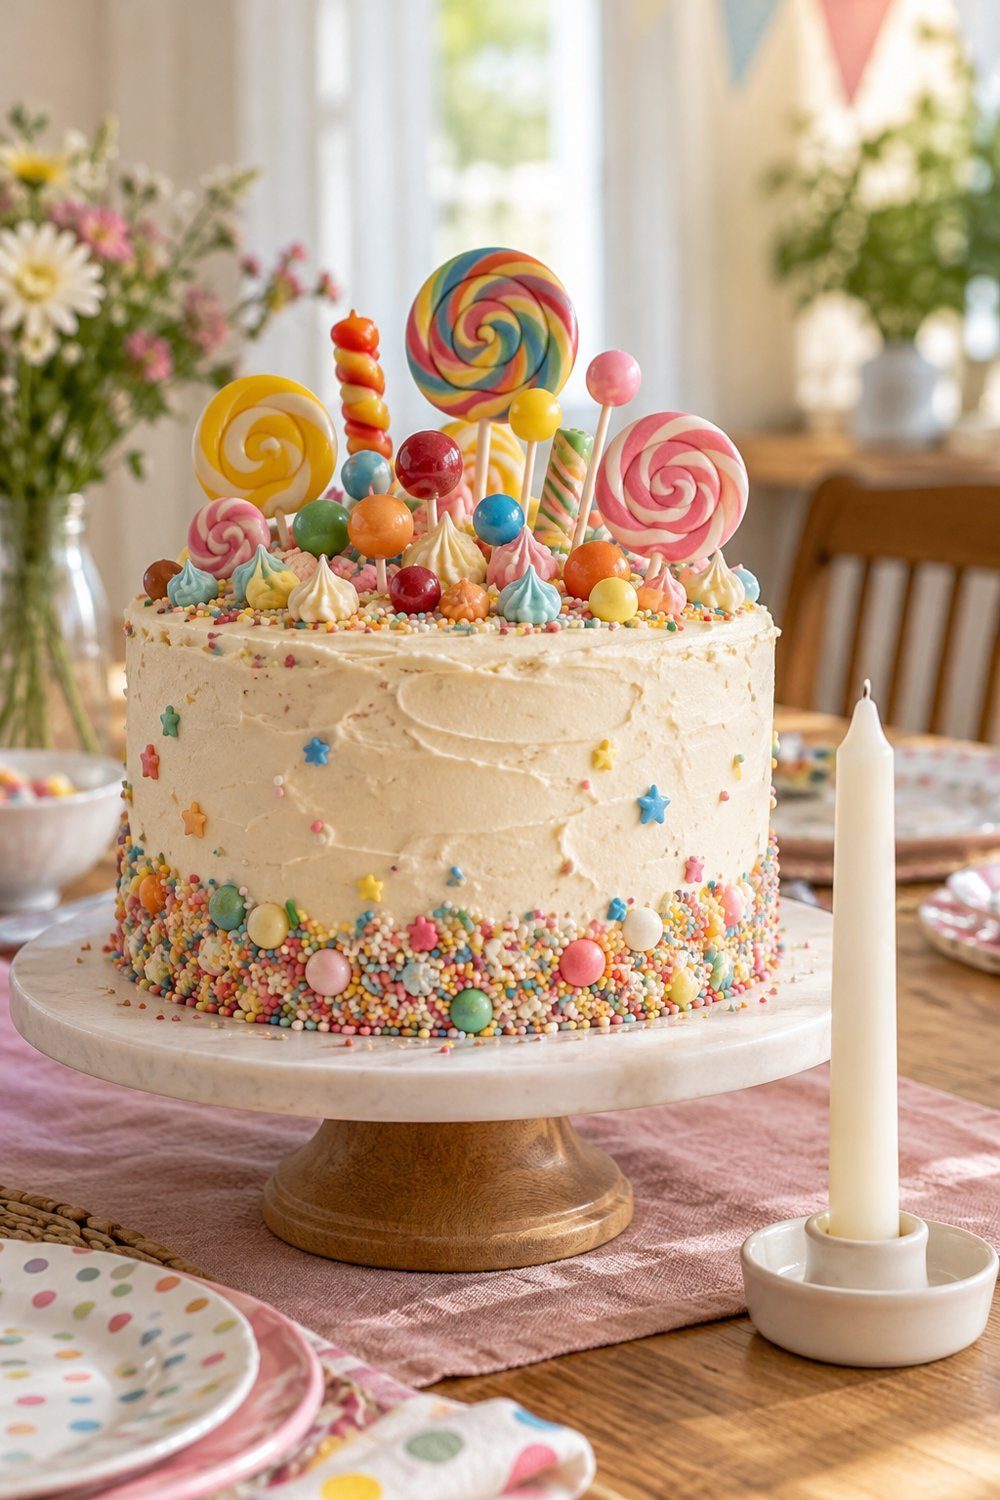
A prominent birthday candle looks striking against a lollipop skyline, but photograph those elements in separate arrangements. This big-candle idea is adapted from Good Food Middle East’s candy-topped cake; take its candy portrait first. Remove the lollipops and other combustible decorations, then add the securely held candle for the lit frame, keeping 12 in (30 cm) clear of anything that burns. The source cake keeps up to 3 days airtight in a cool place. Assemble the candy skyline near serving, and extinguish the candle before restoring it.
You'll need: an 8 in (20 cm) cake, lollipops, fondant and a birthday candle in a food-safe holder. Use ordinary candles for this setup.
How-to from Good Food, Good Food Middle East
A make-ahead timeline
Separate baking from the final scene. This schedule follows Whitney DePaoli’s make-ahead method, Sugar & Sparrow: freeze fully cooled layers for longer lead times, refrigerate buttercream and leave the removable characters until display time. For this chocolate jungle cake, reserve the freshest crumb texture and delicate upright leaves for finishing.
| When | What | How to store |
|---|---|---|
| A week before | Bake and cool the layers; make buttercream. | Wrap layers in plastic and foil, then seal and freeze; the source allows up to 2 months. Refrigerate buttercream airtight for up to 2 weeks. |
| 2 days before | Move frozen layers out to thaw for the next day’s decorating. | Keep their plastic and foil wrapping on as they thaw; remove the outer freezer bag. |
| The day before | Fill, coat and chill the cake; finish sturdy decorations. | Refrigerate overnight. Store removable paper and toy pieces separately, clean and dry. |
| Before display | Add the removable scene when you bring out the cake. | Keep on its stable board and stand, away from heat. Light candles only for the supervised photo moment. |
Next step: Pick your base from Simple Birthday Cake Ideas Anyone Can Recreate, choose a creature in Dinosaur Cake Ideas for Children and Adults Alike, or adapt the scene for Children’s Cake Ideas from Rainbow Layers to Playful Animal Faces.